Sound Proofing Cab

June 2007

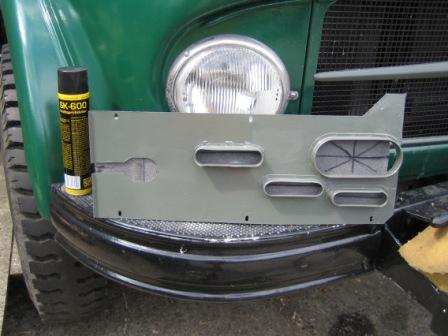
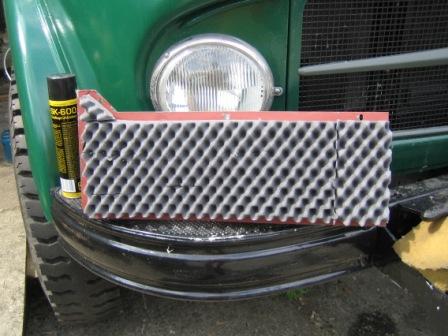
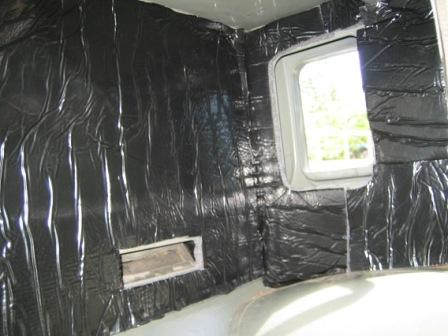
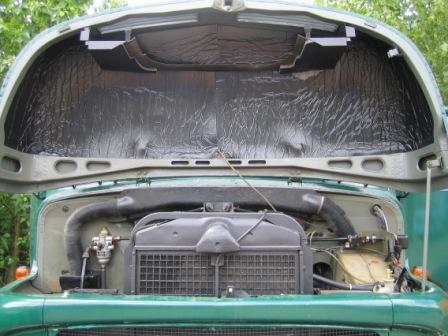
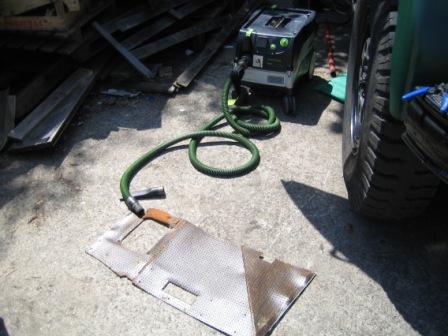
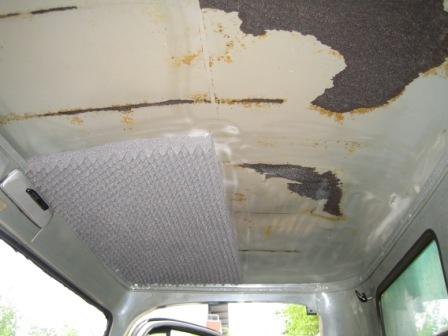
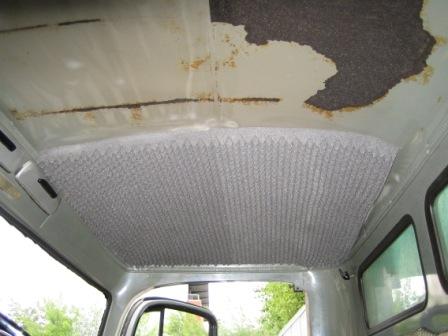
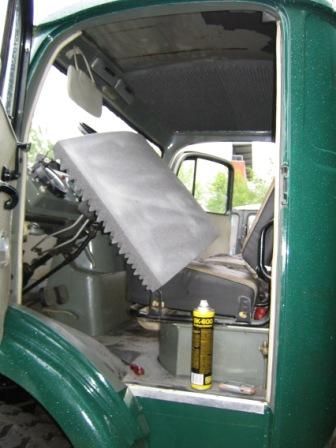
As the Truck is quite loud I started out to provide some sound proofing.

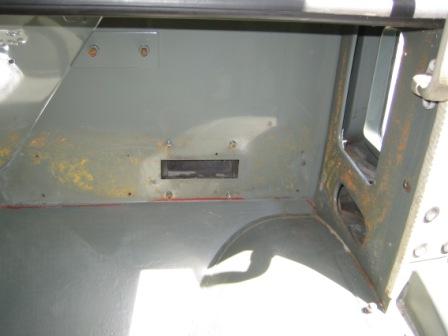
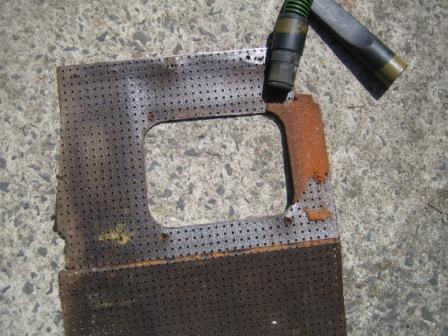
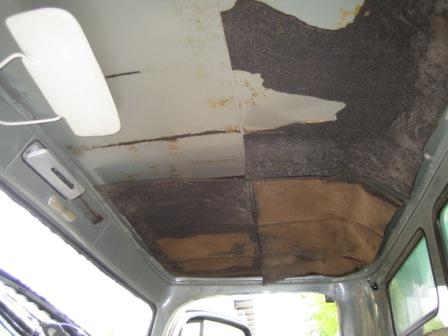
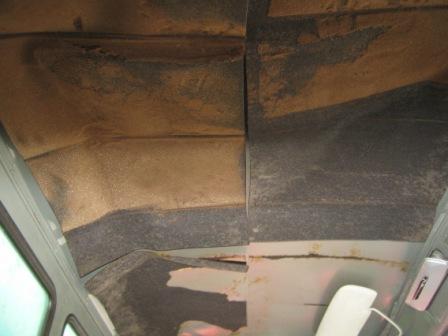
I started by pulling off the old almost rotten cloth ceiling material that had been dropping crystal grains of old dry foam isolation onto me as I was driving. This old foam was behind all the panels and had to be vacuumed off.

The cab ceiling also had above the foam an old Bitumen layer that I scrapped off. 


Here the foam under the Bitumen layer can be seen.


I also vacuumed the foam away before  
            scraping off the Bitumen.


I then spray glued egg carton sound proofing foam onto the ceiling before replacing the old ceiling material.


I want to keep this old ceiling as a pattern for a new one when I find some nice material to make it from. 


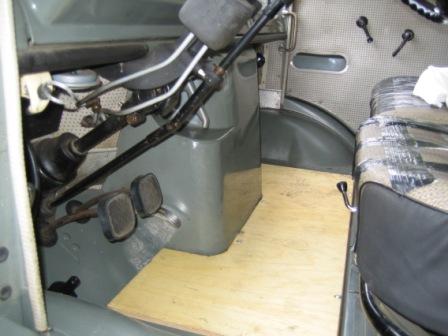
After the ceiling it was time to start on the floor and the first was the area between the seats with the gearbox levers. Here I cleaned it all before painting  with the original Bundespost colour RAL 7010 Zeltgrau 

This colour was used by Vehicles of the Telecommunications emergency service of the German Federal Postal Administration into the '1970's (Fahrzeuge des Fernmeldenotdienst der Deutschen Bundespost bis in die 1970er Jahre)


The original floor wood had rotted on the edges so I used it as a pattern for a new one from 18mm Pine Plywood. Then glued on the isolation foam with cut outs for the top of the shock-absorbers and chassis rail.


Also applied a foam engine isolation to the fire walls and under the bonnet that is resistant to
         heat and oil.


                                                                                                Return to "Renovating the Truck"
                                                                                                        Go to "Painting in the Cab"
 

Make a free website with Yola