Power Steering 
March to September 2009


Part 2- September

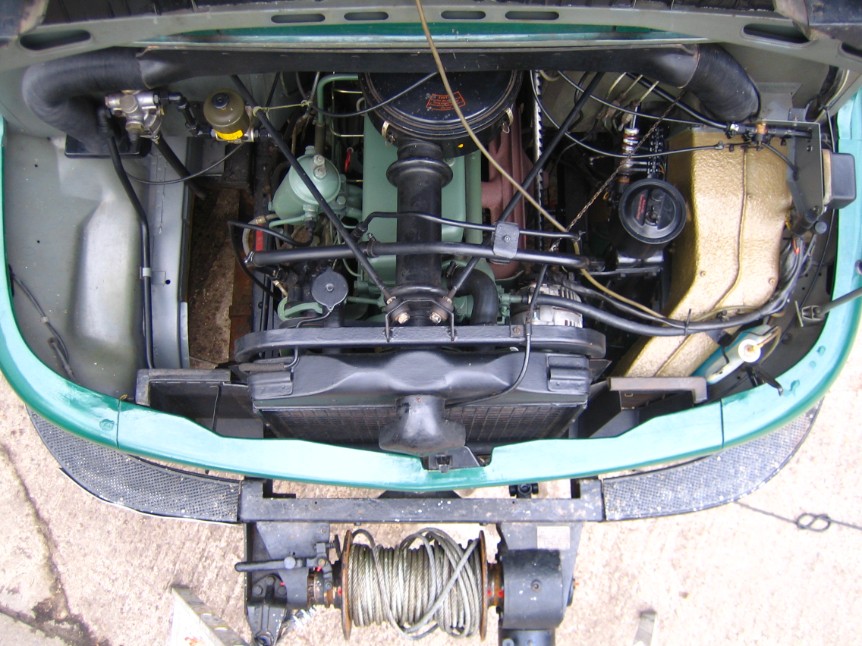
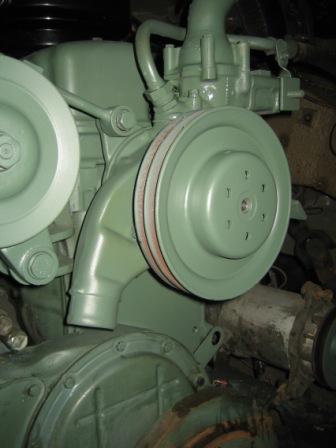
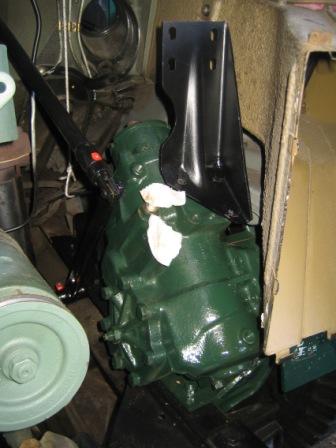
Finally got everything together and the time to do it as well of course a window in the weather with a few days without rain. So while I went about the preparation for the mounting of the Power Steering, I also scraped and washed off all the old oil and grease that had collected. After this I applied a first coat of  rust protection paint before a final covering of the top coat.

Open and waiting for transplant!


How it was before the cleaning!


 The Radiator off and ready to start scraping off all the old oil, removing water pump and repainting. 


New Water and Hydraulic Pump mounted and the repainting has begun.


   The old Steering box with electric cable coming
     out the bottom end of it.


Thick old grease covered many parts that I had to clean off and repaint and again the cable coming out rear of the old Steering box.


      Starting to drill out the rivets holding the old
        Steering box on.


The Steering box is gone, now starting to clean and repaint in Satin-Matt Black. 


Steering Wheel, Rod and linkages removed.


Found rust under the Alu Step Strips on the Bumpers, so needed to flex this away to bare metal in preparation for the painting.


The Radiator frame being painted satin Black. 


Radiator finished with painting and waiting for fitting. New Rubber mountings fitted.


       Front Differential also flexed and about to
         be painted.


The Mounting Frame for the Steering-box
was actually from a larger truck and the
holes didn't match so I needed to fill some
and re-drill new ones. Note the clean,
painted spring hanger.


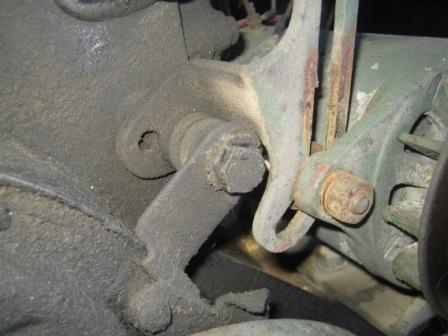
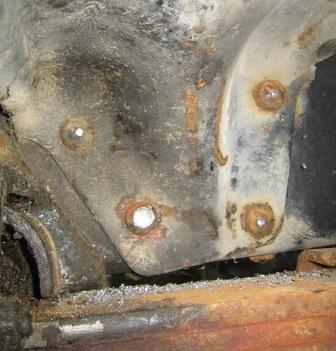
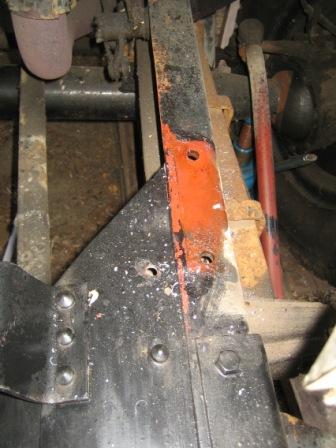
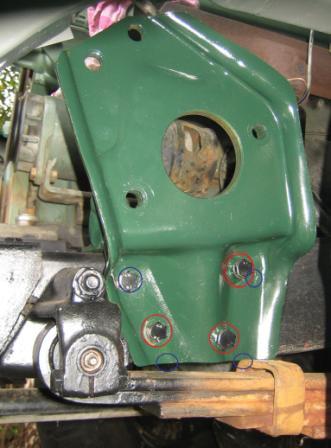
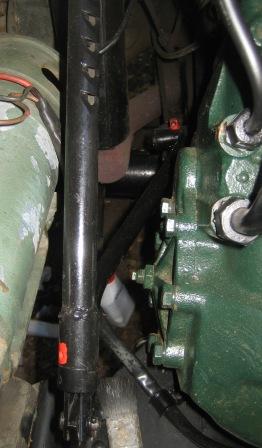
Now the Mounting Frame has been cut and re drilled.  The Blue rings show the old holes.
The Red 
rings mark the new holes.
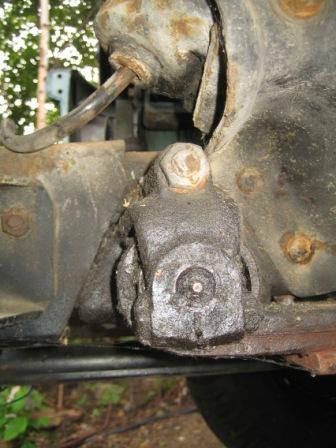
Also needed to make some height rings for two bolts as they were on the edge of
the middle rise.


Motor and front Chassis Frame finished with painting but before mounting the Steering.


The Steering box Painted and ready to mount.


       The Steering box Painted and with Copper
         Paste on the splines.


    Its finally in "Yippi" now just starting to
     connect it all together.


Here is one of the many problems I had to find a solution for:-
I needed to bend the Hand Brake arm in two directions so that it folded its way around the Steering box and at the same time didn't collide with the generator. Much bending and re bending with a long steel pipe was needed to get it to its final position.


Nearly all connected. Starting to fit the rubber hose to the Hydraulic fluid pipes.
One needed to be made at a Hydraulic specialist as it was the pressure pipe.


Another solution that was needed:-
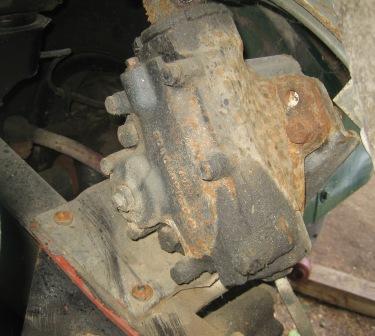
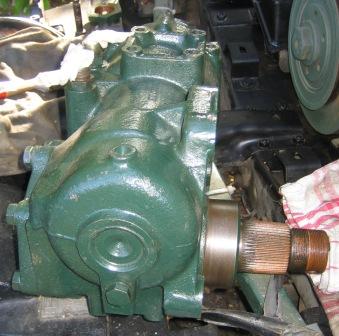
I have the old style steering
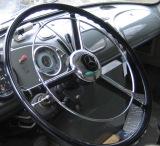
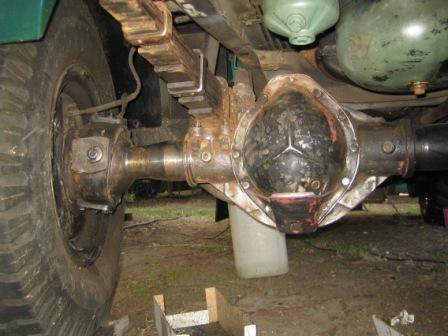
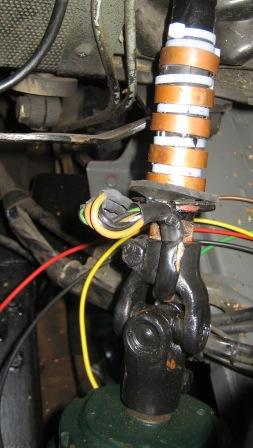
wheel with the cool chrome ring in the middle for the Blinkers and Horn. This system had the electric cables going right down through the steering rod and out through the bottom of the old steering box (as seen above). Well the new Power steering box doesn't have a hole,
so I found a way by building some slip rings that transfer the current for the connections. 


  And here are the connection fingers that I built.
  I made the fingers out of the blades from a 
  small  steel cutting saw that I smoothed up on
   the flex.


As it was when I first built it but now after a bit of use Ive fine tuned it a little and tidied it up.

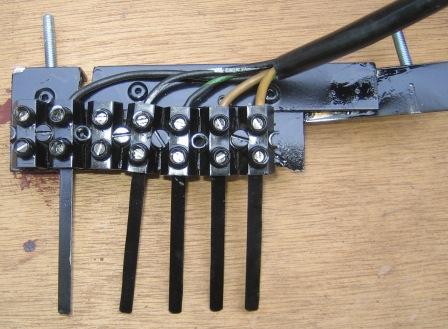
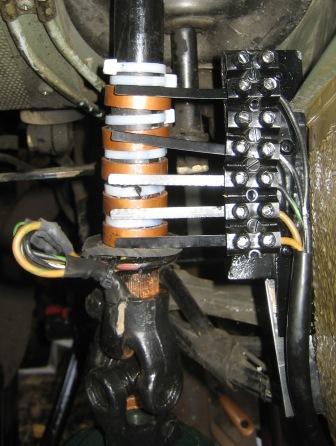
I soldered the electric cables under the copper rings.
Between the copper rings and the steering shaft I laid strips of cut cable tie as insulation and to hold the rings tightly in position. Cable ties between the copper rings acted as non conducting spacers and stopped the rings from moving. Easy to build and it works well.
Ive put battery pole grease on the rings to create a lubricated corrosion free contact area.
Four years later and its still working well !


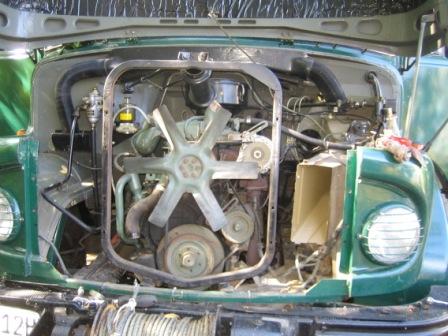
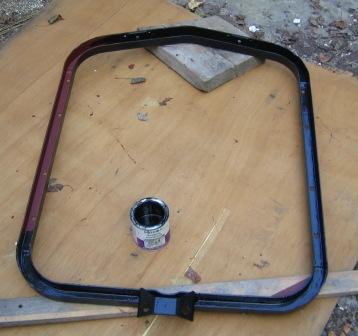
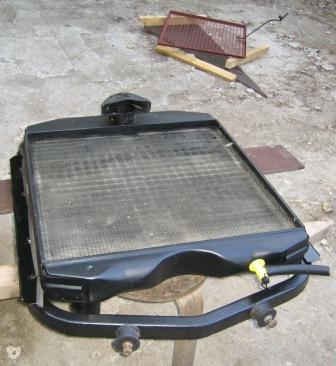
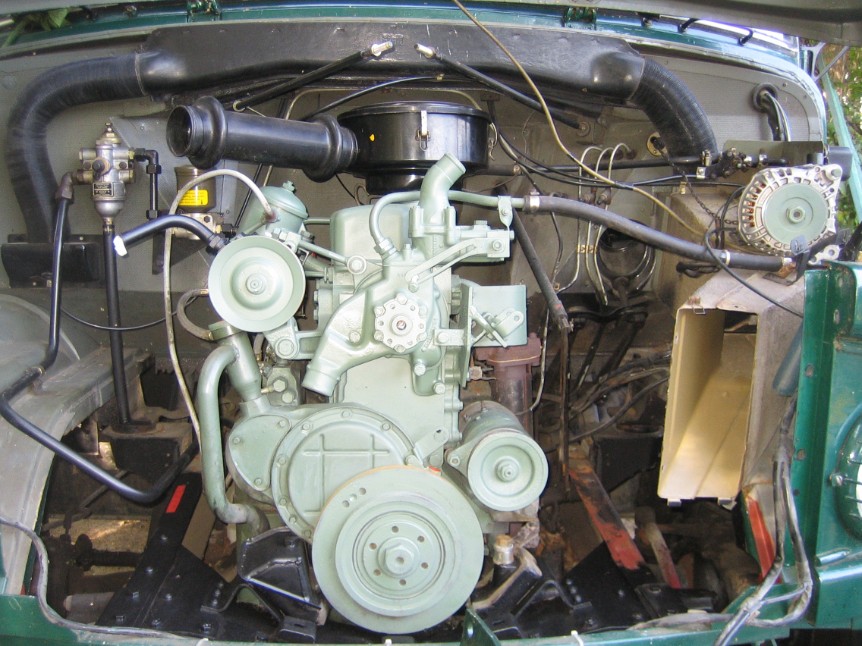
As I went along I changed where ever I could all that was made out of rubber as in most cases after 42 years they were starting to crumble to dust. Most of the grommets going through the body work protecting the cables were exchanged for new ones. I changed all the rubber water hoses and all the rubbers supporting the radiator. I wanted to change the motor mounting rubber bushes but at a quoted 100€ a piece I couldn't afford to at this stage so will be done at a later date.
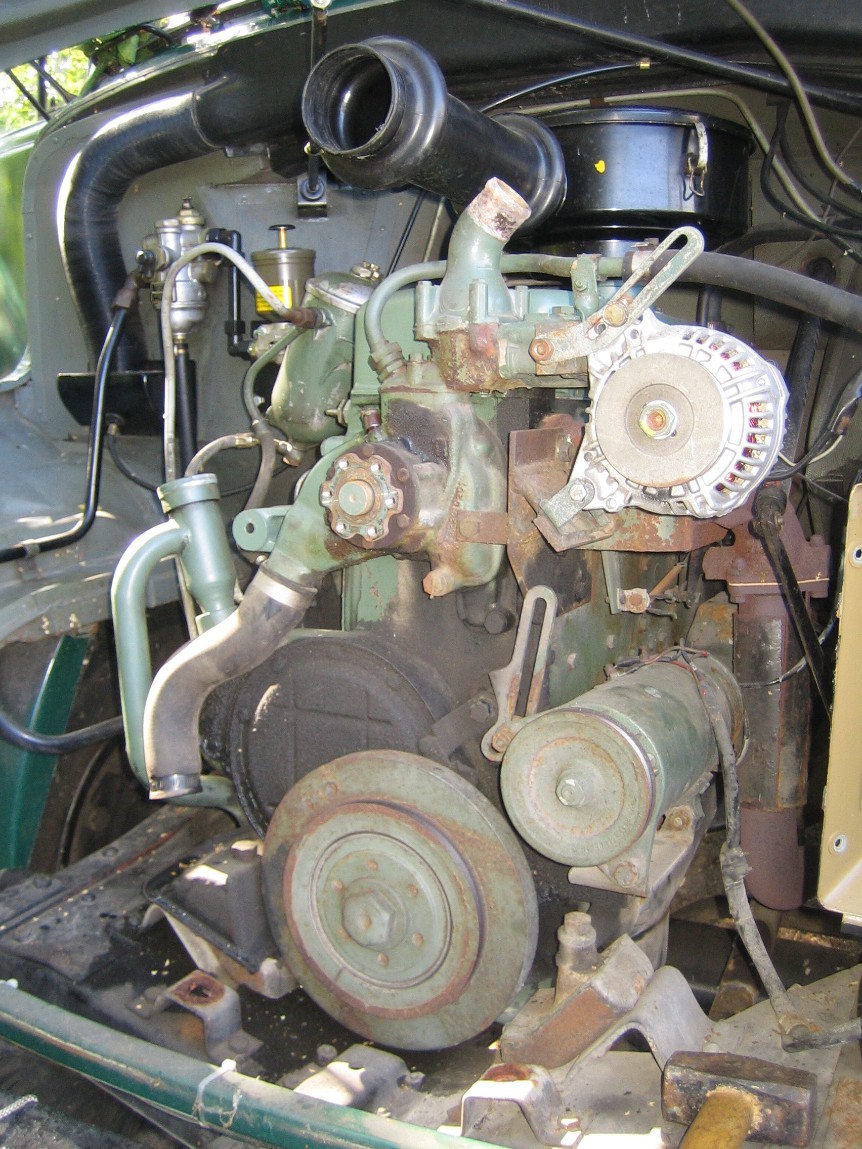
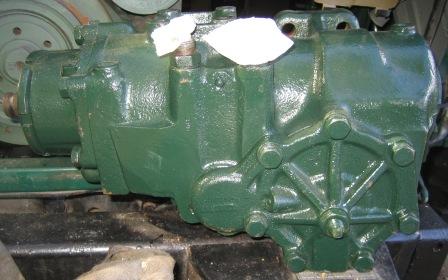
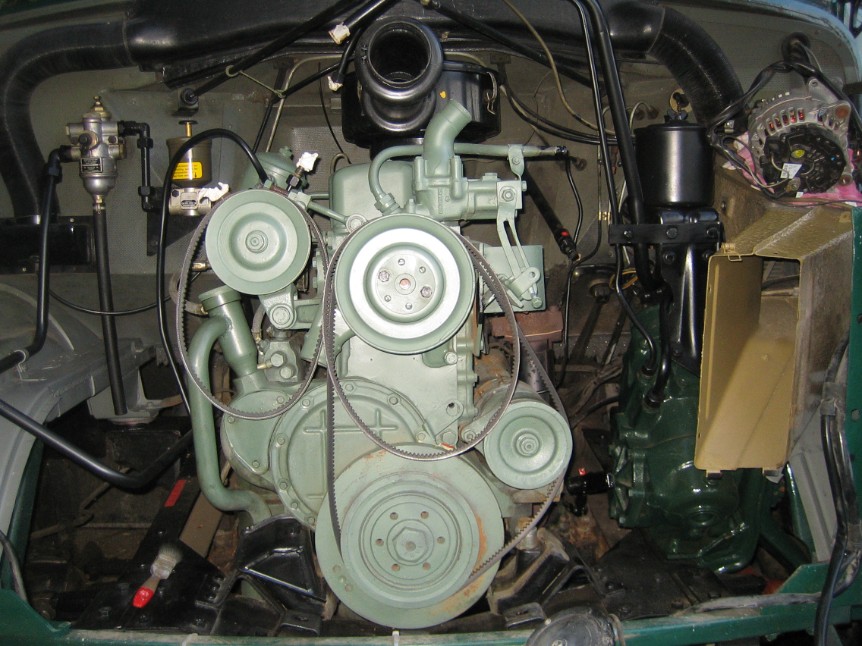
The Hydraulic Pump was mounted on all new rubber bushes and everything rubber in the Hydraulic fluid reservoir was replaced with new parts as well as a new filter.


I can now put my hand anywhere around my engine and not have it come out all black with grease and oil !


                                                                                                     Return to "Renovating the Truck"
                                                                                                       Go to "Adjusting Snow Chains"
 

Make a free website with Yola