Part 8: Inside construction
15 May - 17 July 2011
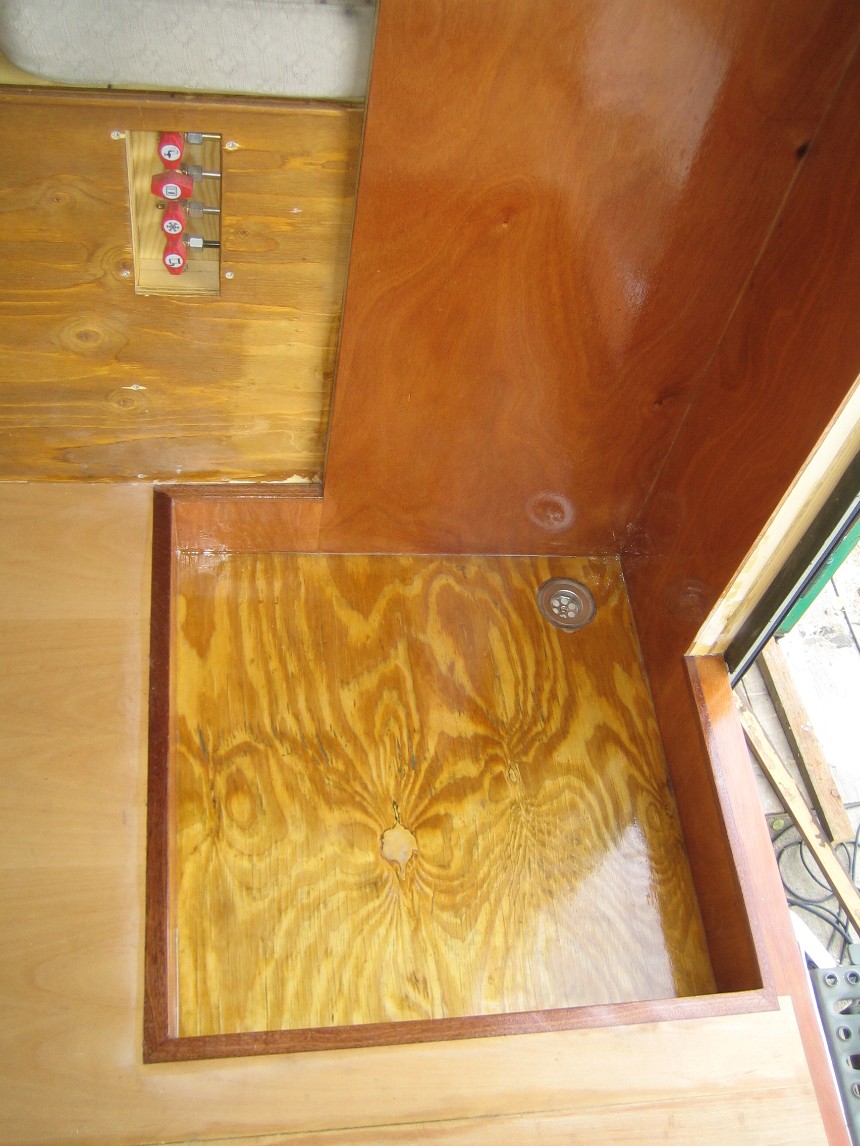
Finished
the edges to the shower tray with Mahogany trim which is glued in with
epoxy then after sanding a final coat of epoxy over everything to seal
it and make it all water proof
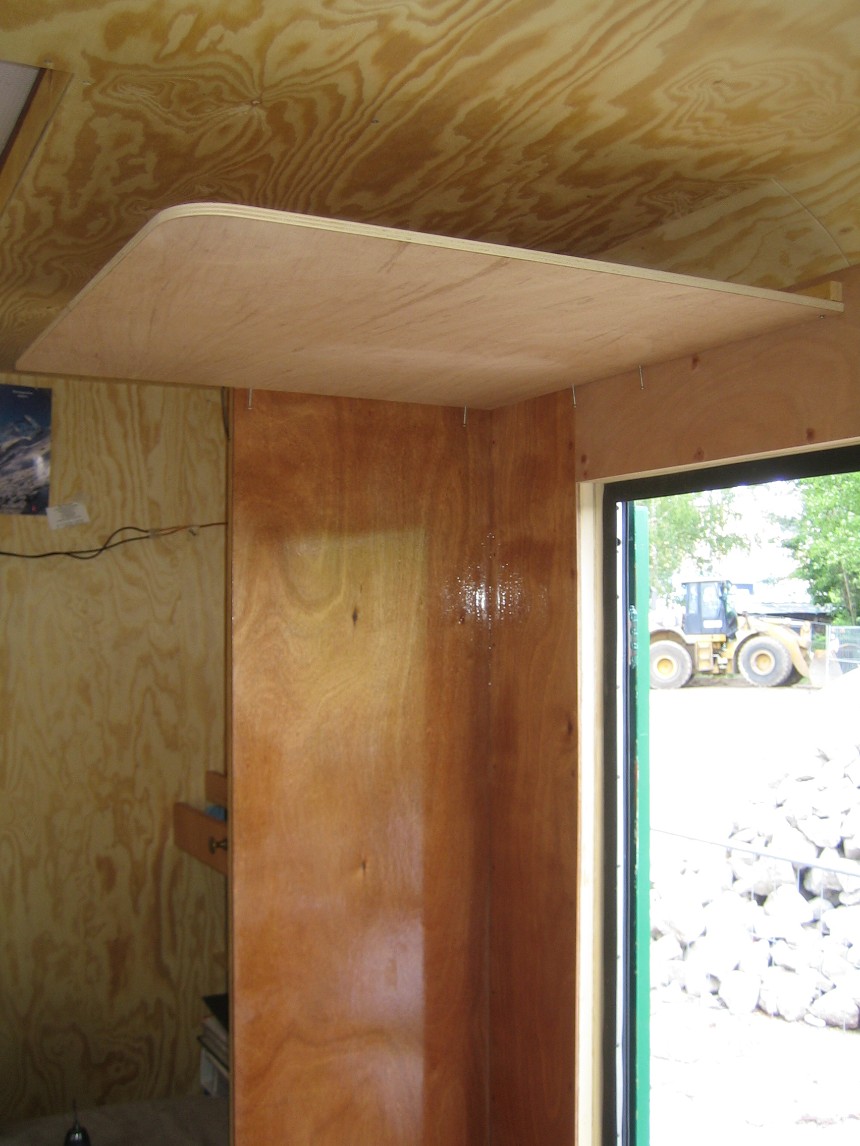
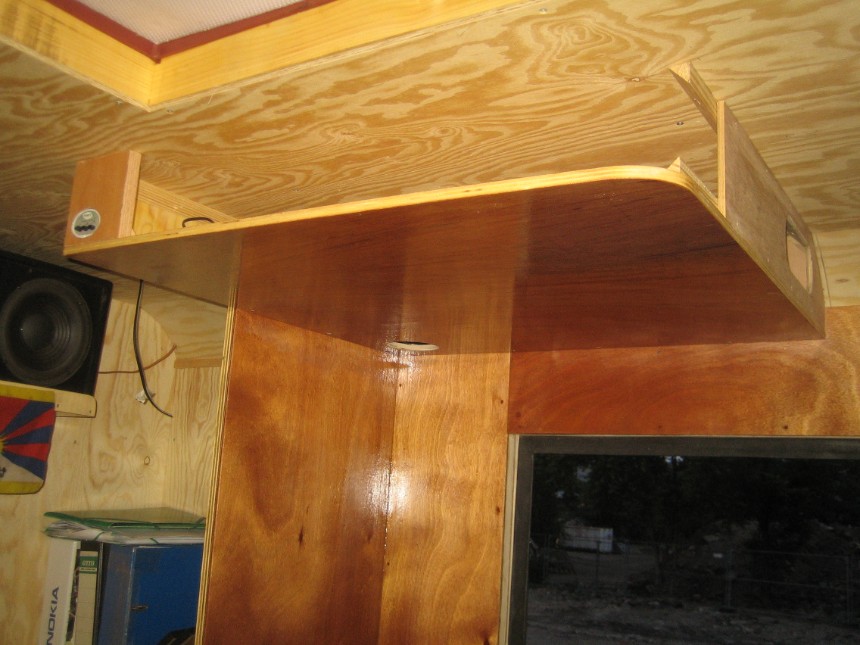
The beginning stages to the roof over the shower constructed from Gaboon plywood and just before taking out to coat with epoxy
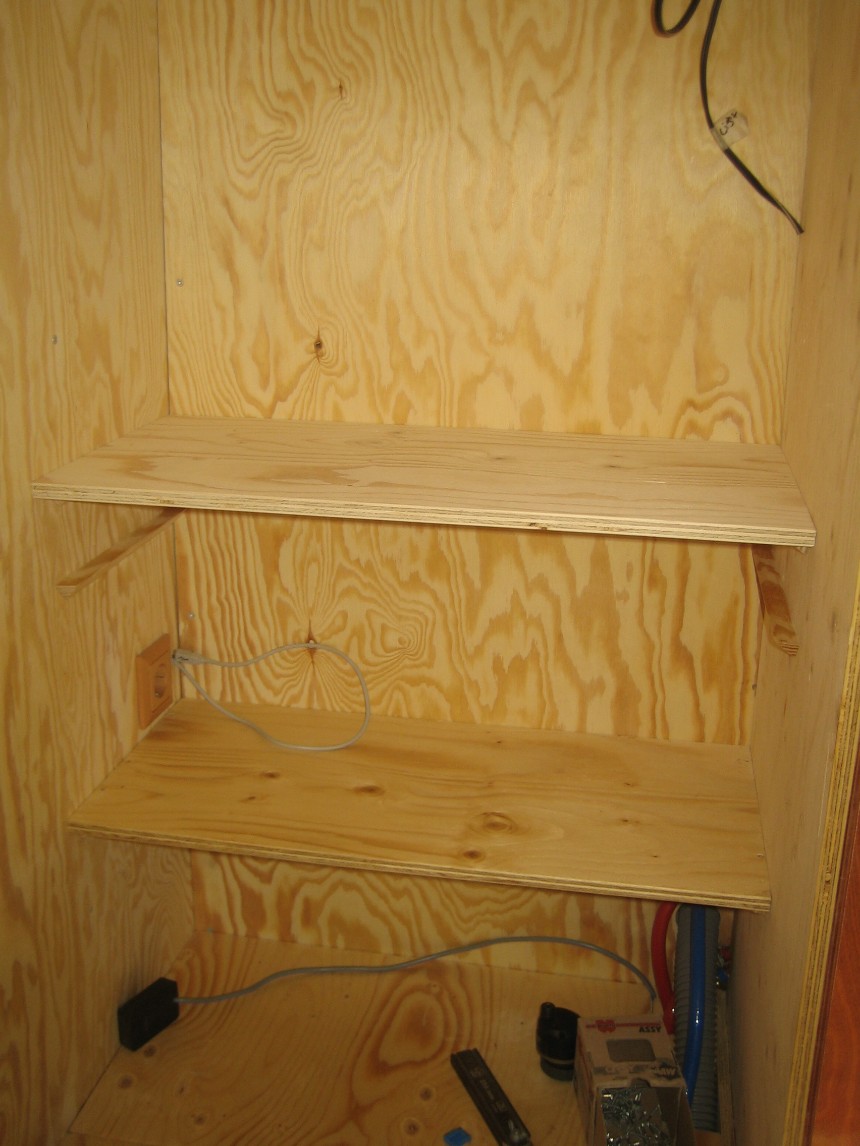
The start of my Buro corner with shelves and some draws
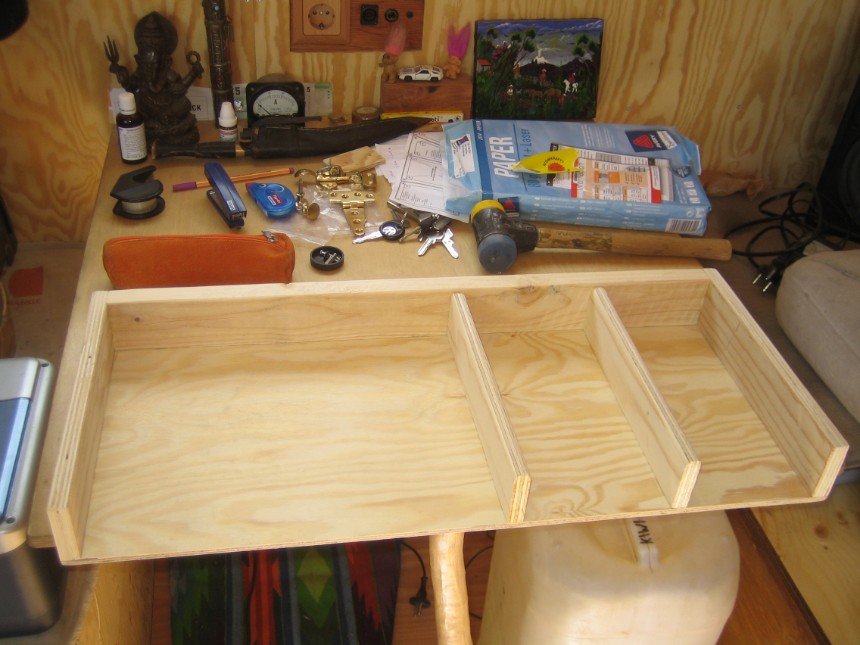
Building the draw for the printer paper and other stationary things
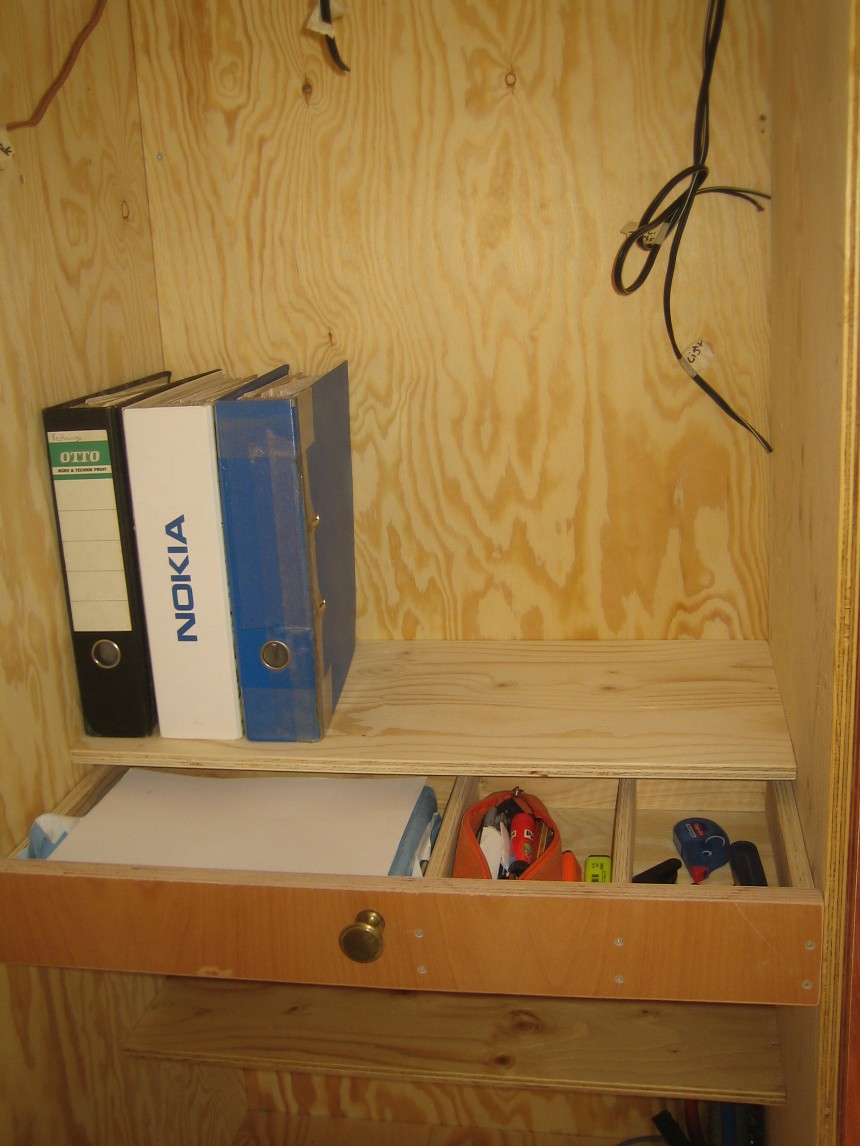
Folders shelf is built and the draw is fitted
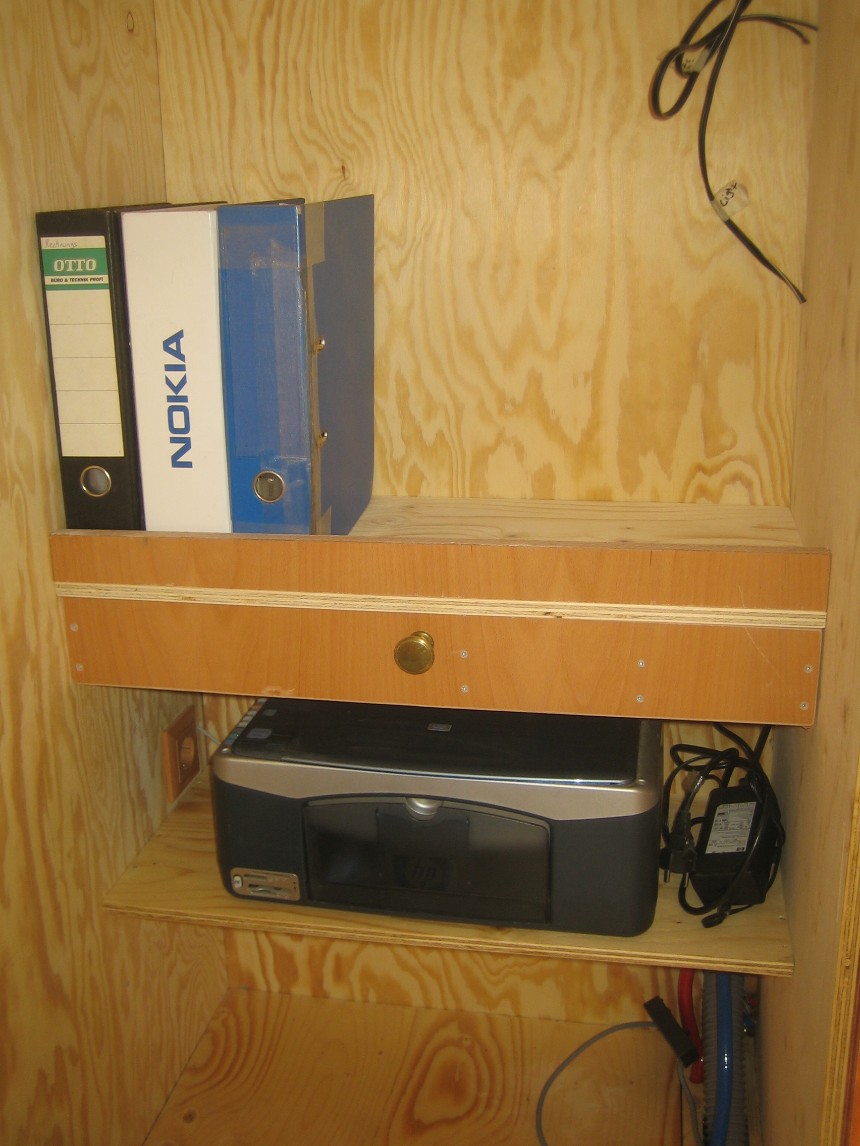
The Printer is in place and only needs the small wood piece fitted on the front to hold it in place
Building the speaker shelf
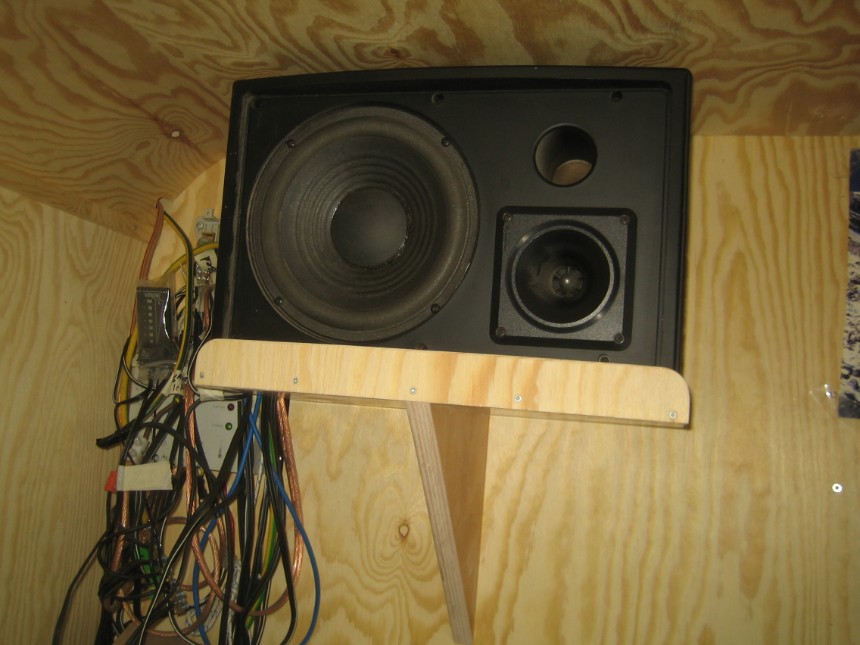
First speaker shelf is in place
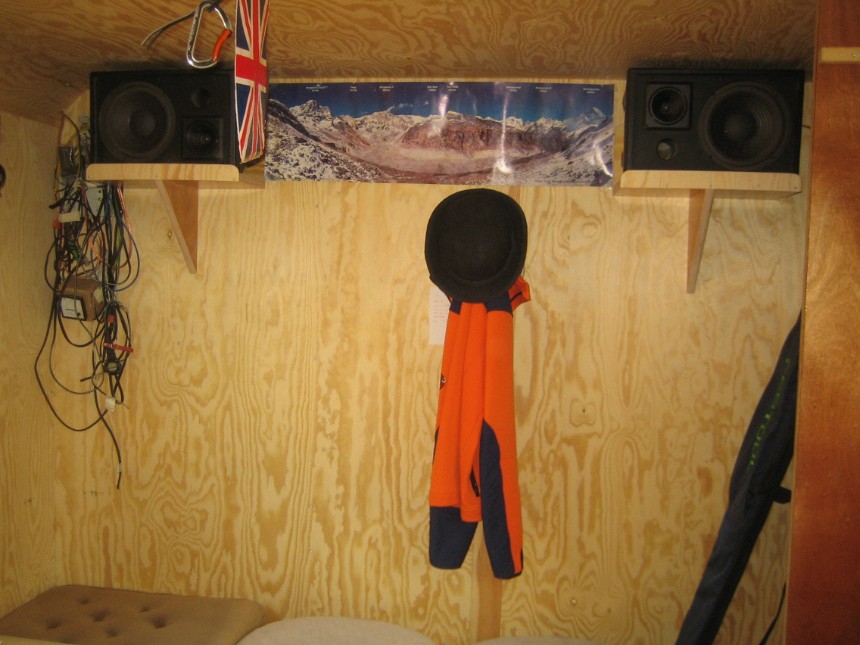
Both speakers now mounted on the wall
Painting some more as the weather is good for this
The right side and rear are now finished
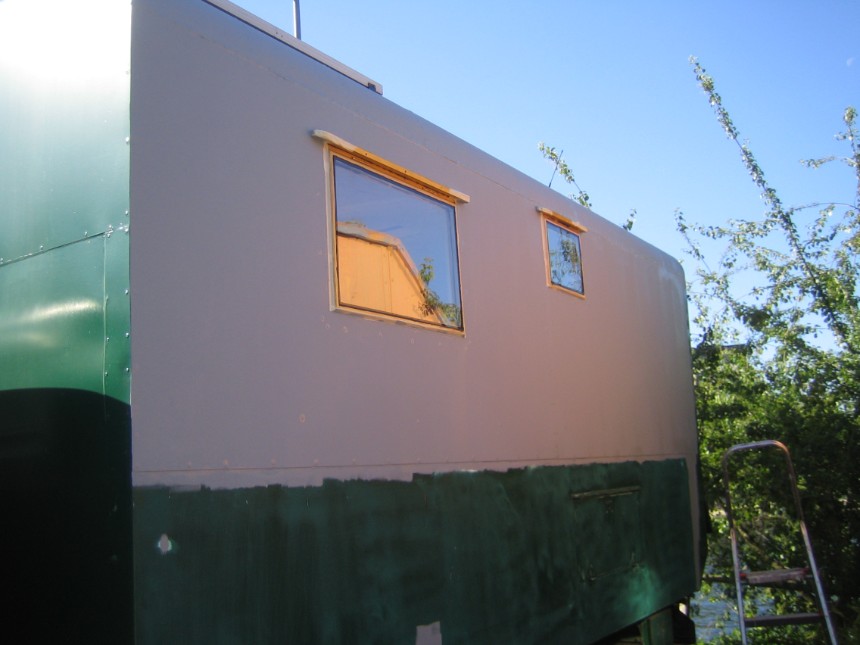
After
spending a few hours sanding all the sikaflex and old paint Ive now
finished the undercoating and now about to apply the final top coat
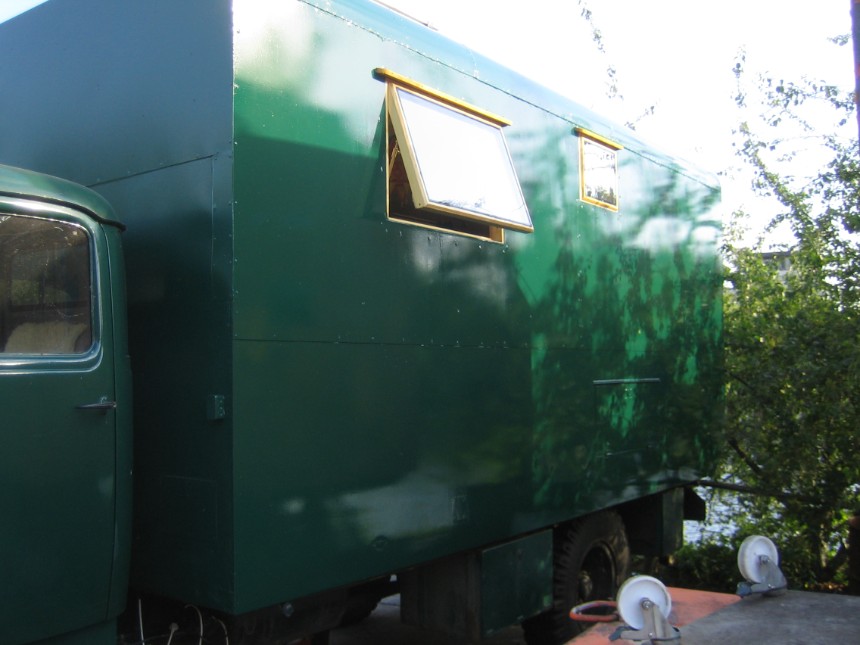
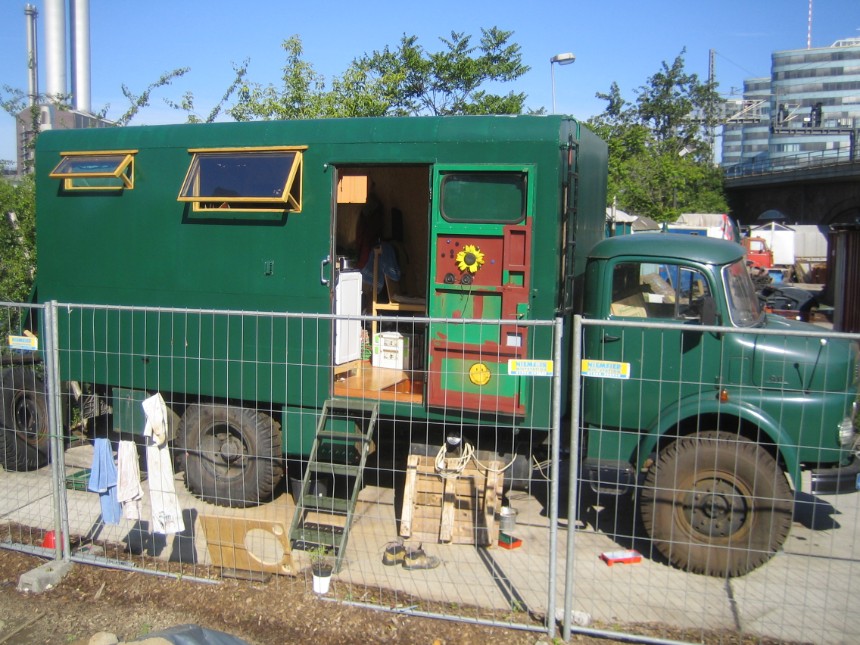
Thats it! The outside painting is finished
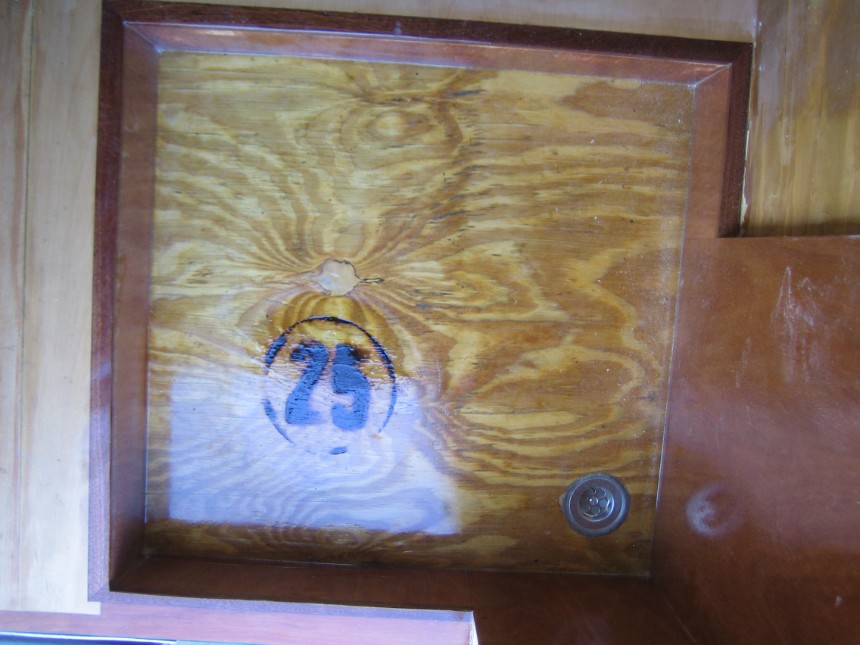
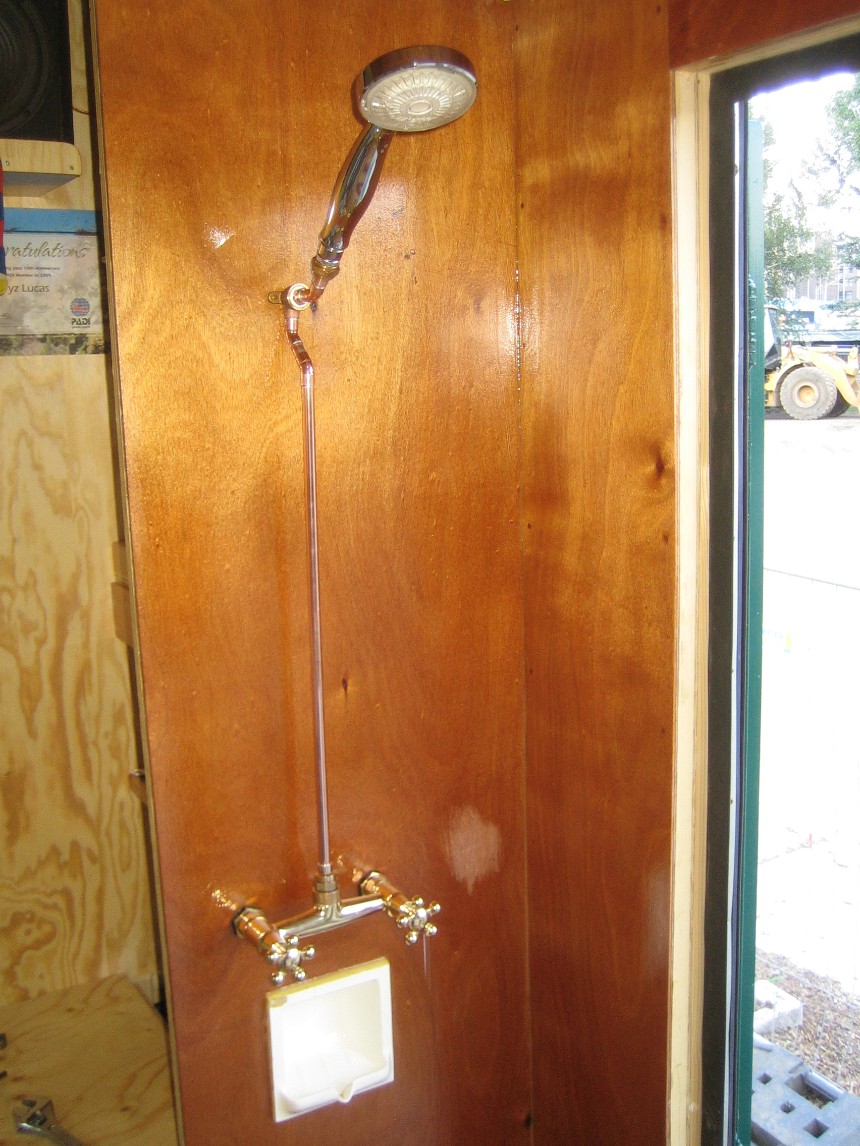
Finally got around to burning the Bar 25 logo into the shower floor and coating with Epoxy
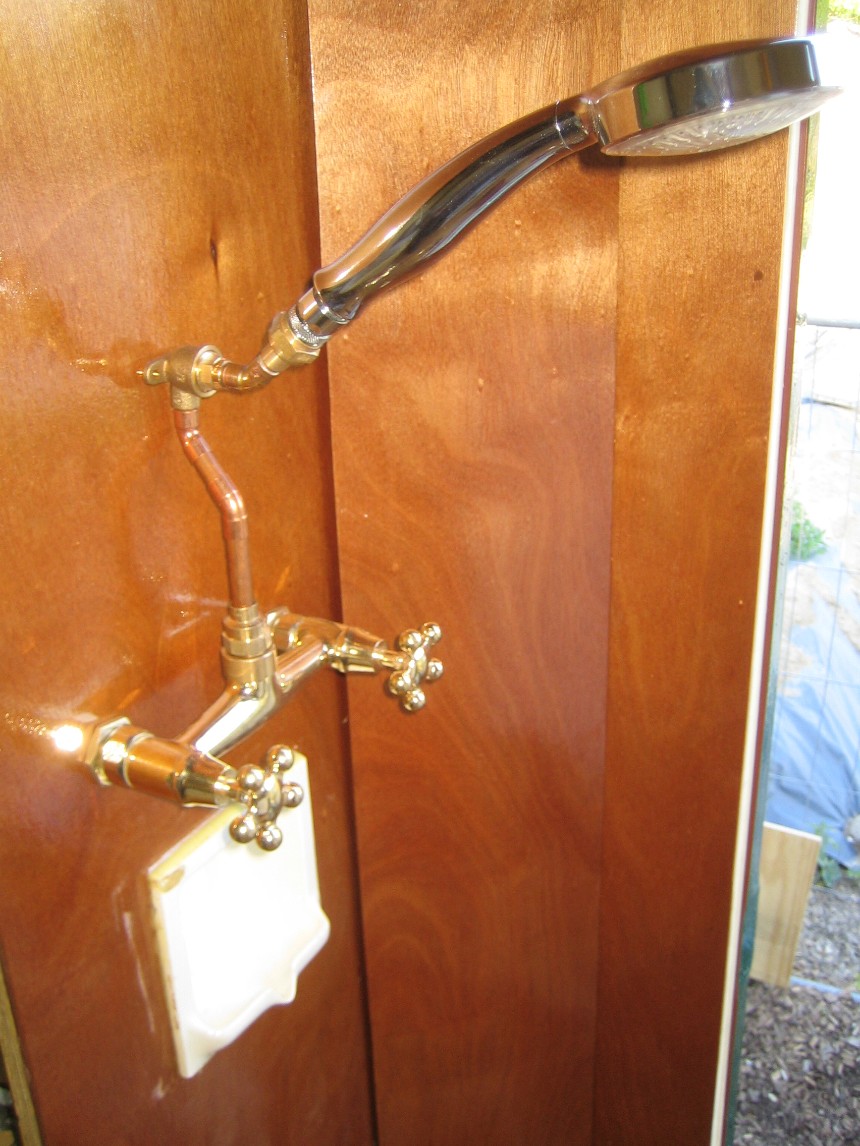
Sorting out the layout of the pipe connections for the shower
Ive
also Epoxied into the wall an old porcelain soap holder. Now waiting
for the epoxy to dry before sanding and applying the marine varnish to
the wood
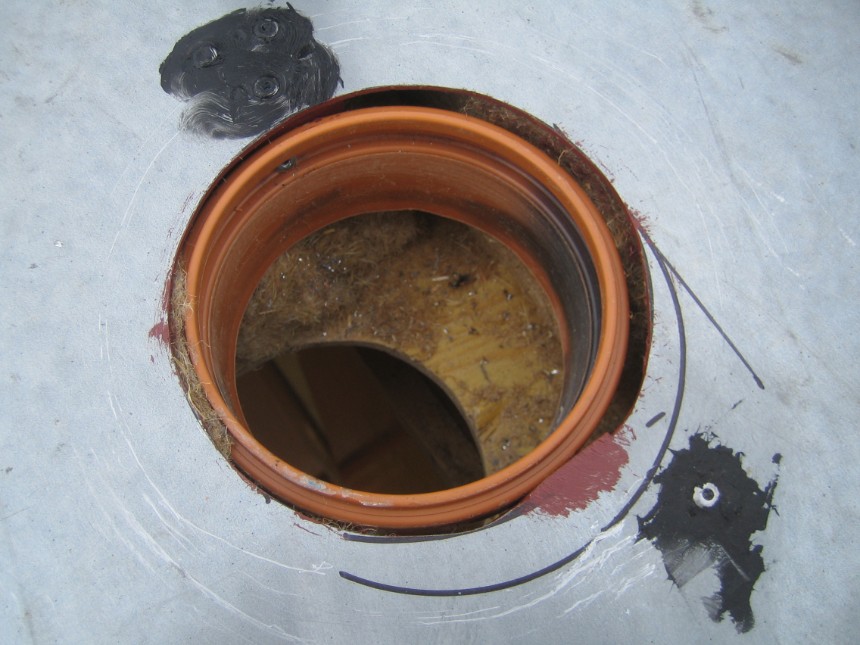
Cut
a hole in the roof to mount a ventilator for the shower. Here I have
mounted an old drain pipe that will be the flange between the fan and
the aluminium flex pipe.
In 2019 I removed the Solar Vent as the fan had started to rub on the side of the housing and I found I really didnt need it
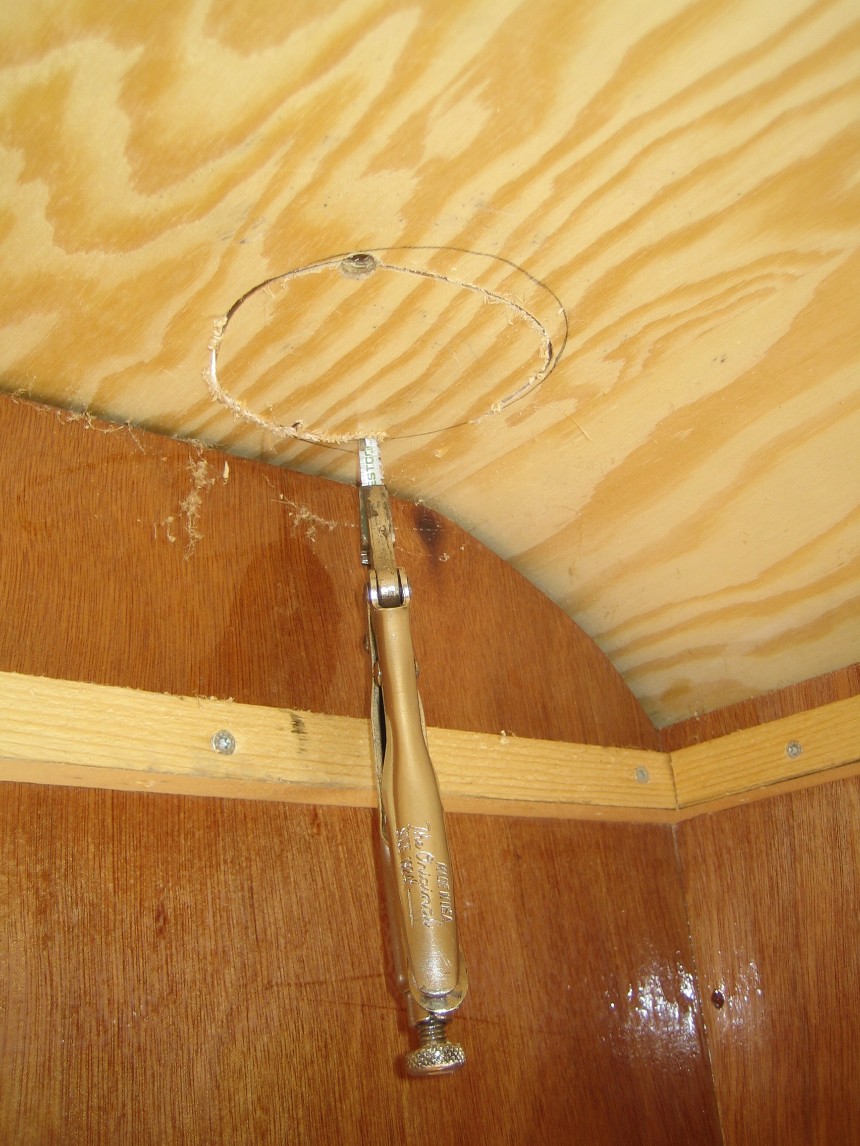
Holding a jigsaw blade in my Visegrips as the jigsaw wouldn't fit in the corner
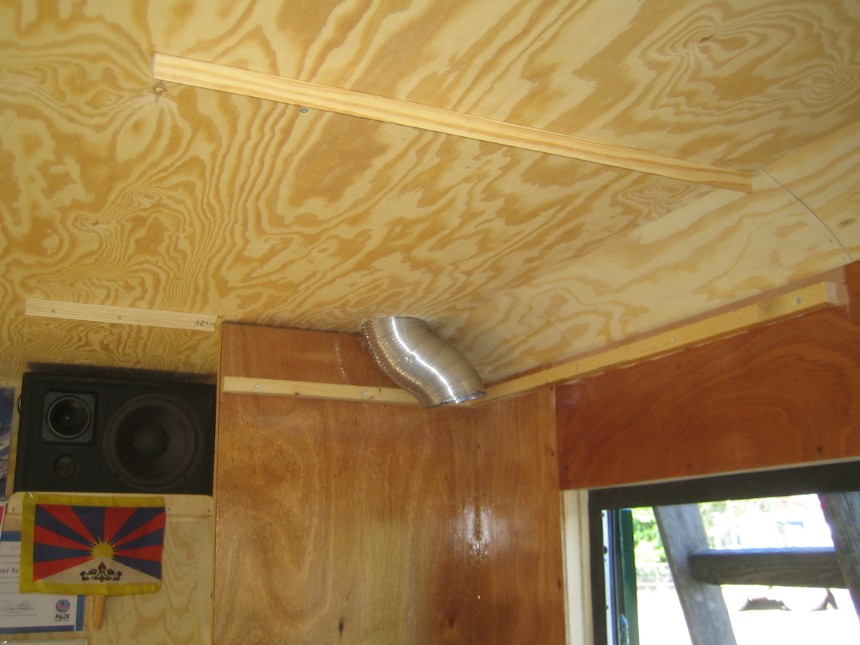
The aluminium flex pipe coming through the roof
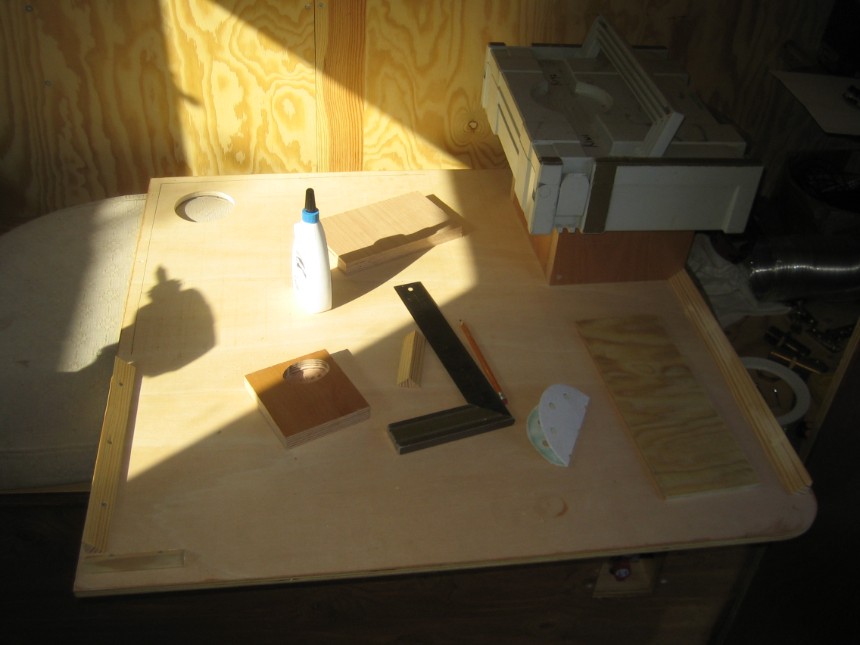
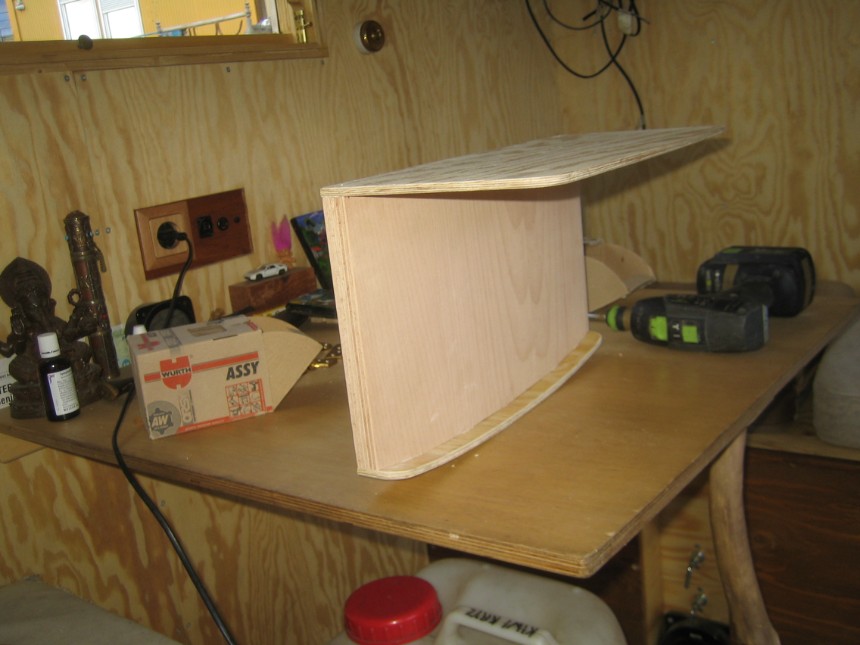
Gluing
the wooden frames that will hold the side walls to the shelf. The
Festool box is holding down the frame for the binocular cupboard
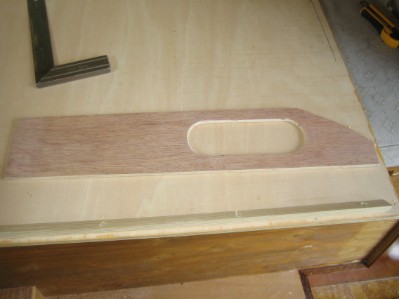
Framing finished

Ready to be lifted into place
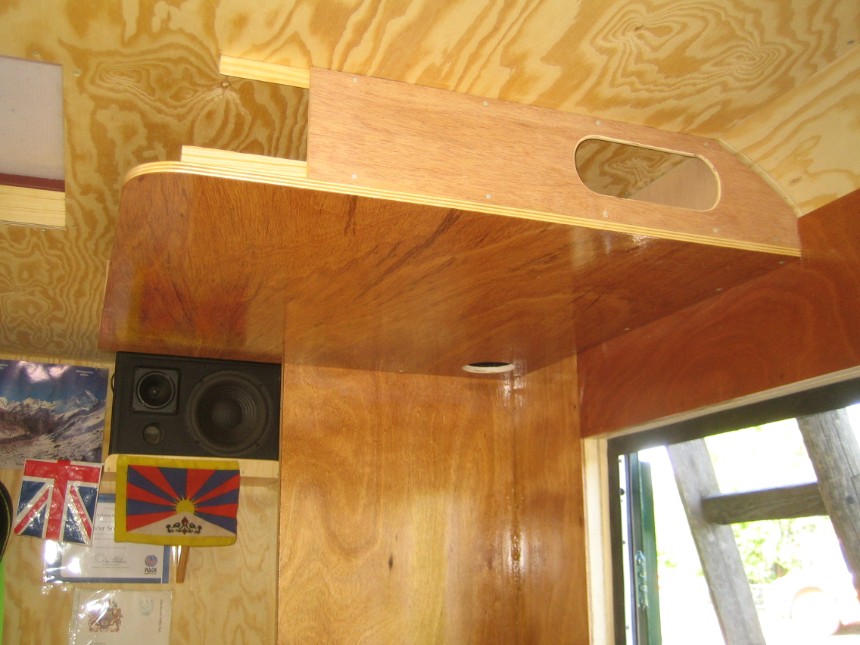
Fitted in place with a small shelf behind the oval for my Binoculars
Rewiring the Ventilator with longer cables so I can mount the switches on the wall
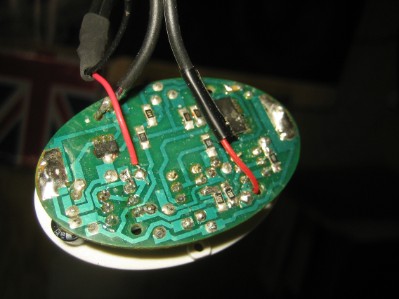
Soldering the longer wires on the back of the switch circuit board
Shelf mounted and the switch fixed to the left corner

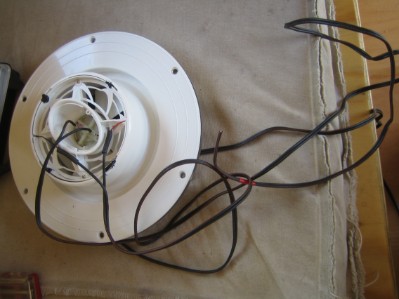
The
Solar ventilator that runs the system so that I can extract the steam
from the shower and keep the house less damp especially in winter.
As I said above, this is now gone as also a Solar Panal now covers this area

Fitted the water pipes for the shower and bedded them down on Sikaflex where they go through the wall
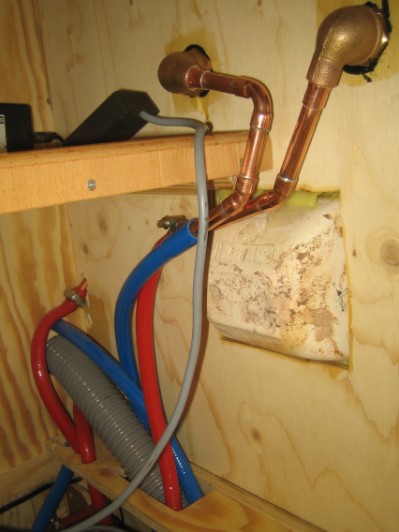
Connected the copper pipes to the plastic hoses
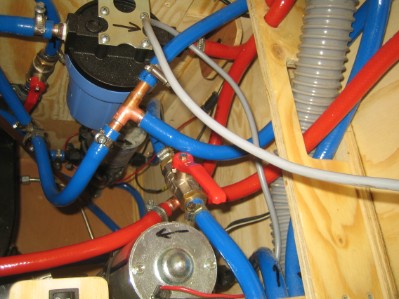
I soldered together copper T Connectors to join the hoses
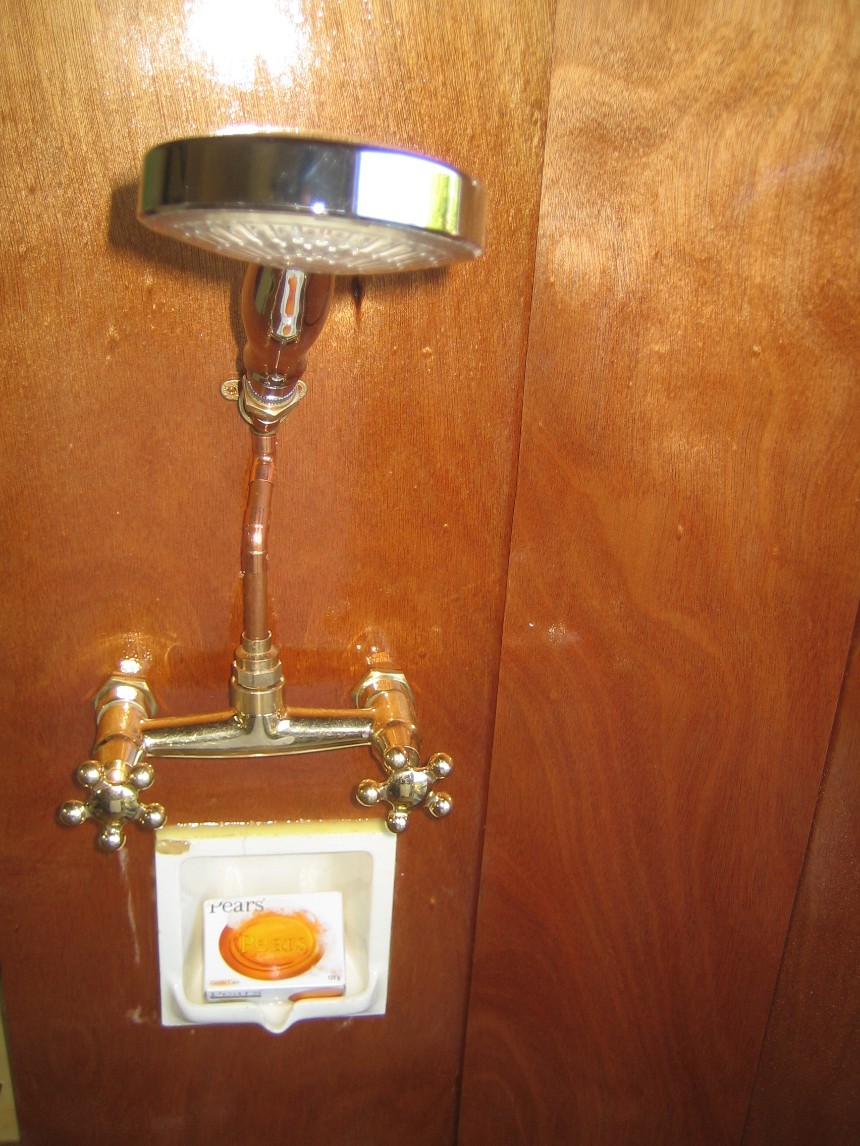
All put together and water test completed
Yippy !!!
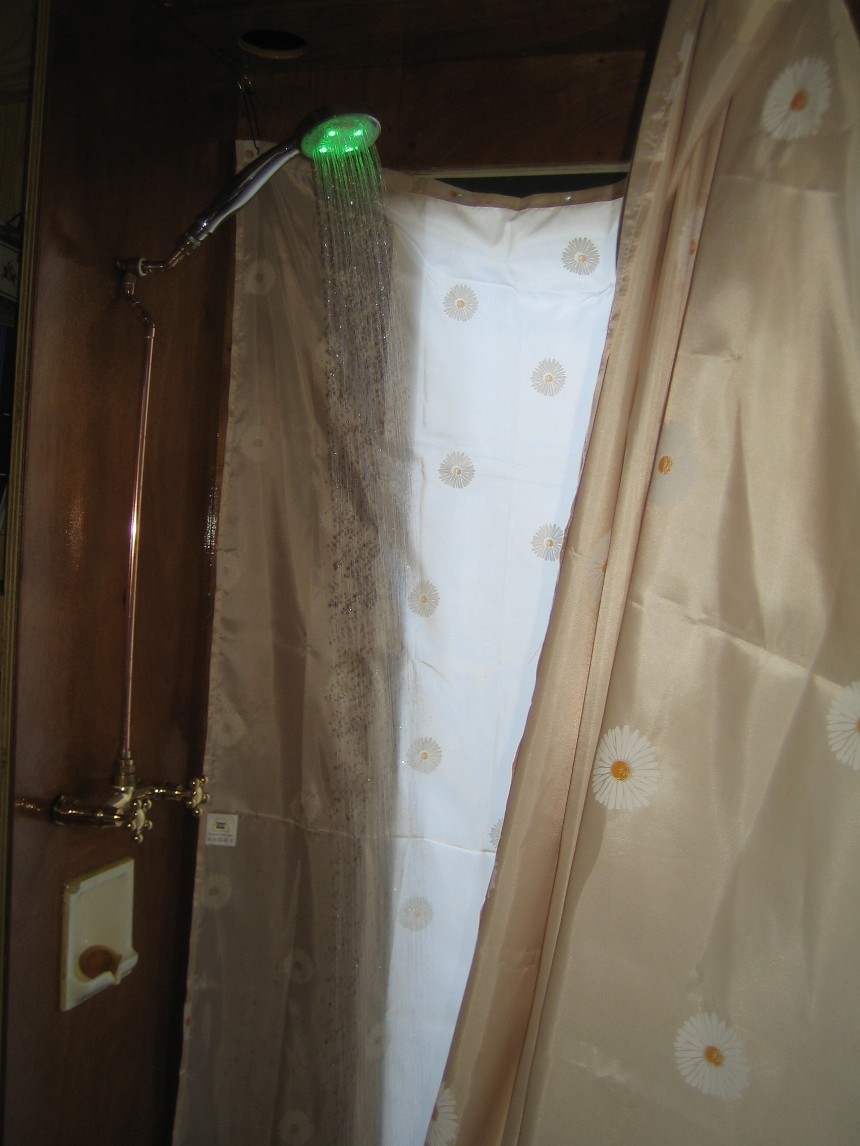
I now have a working shower with a LED shower head.
I have 5 brass hocks in the shower ceiling that I hang the shower curtain from. After showering, this gets taken off and hung to dry. I wipe down the walls and the tub, then put the floor piece back into the tub to close the hole.
This saves me a lot of potential lost space inside, by not having a full time shower room.
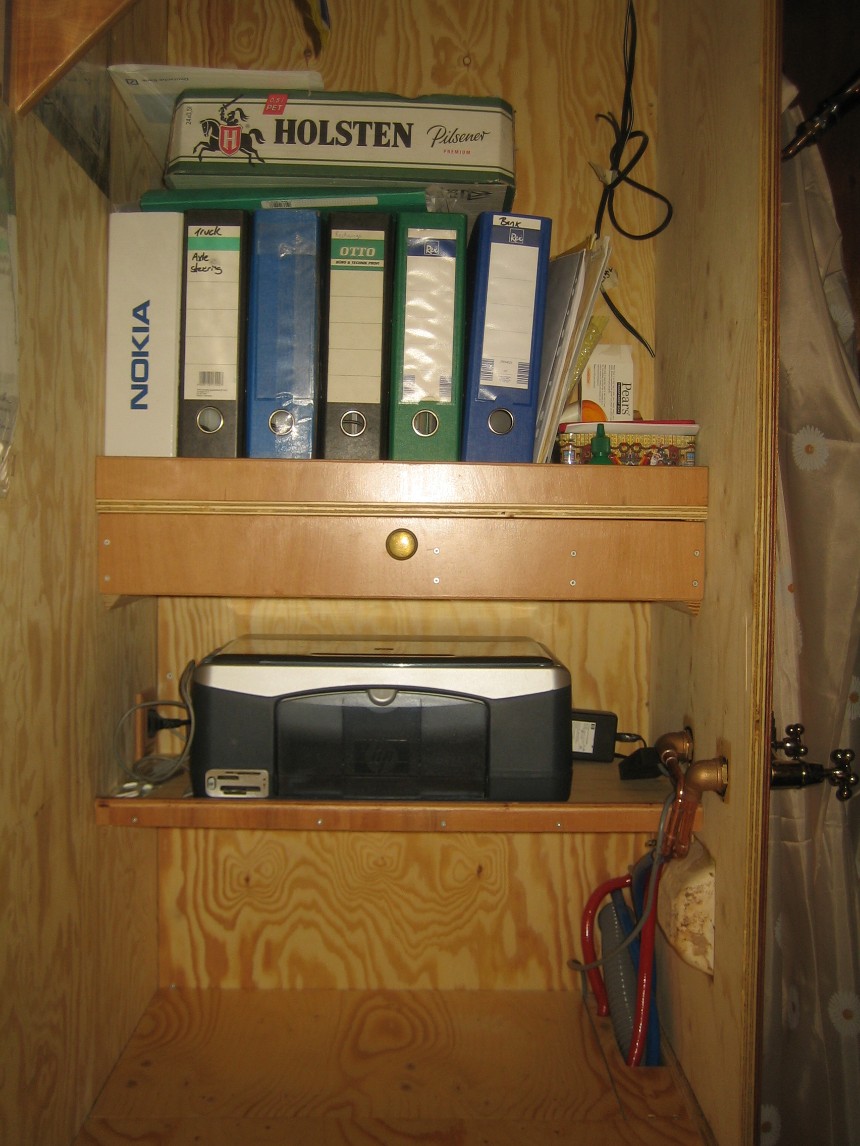
Finished Buro with Files and Printer