Part 3: Inside construction
17 February - 25 February 2011
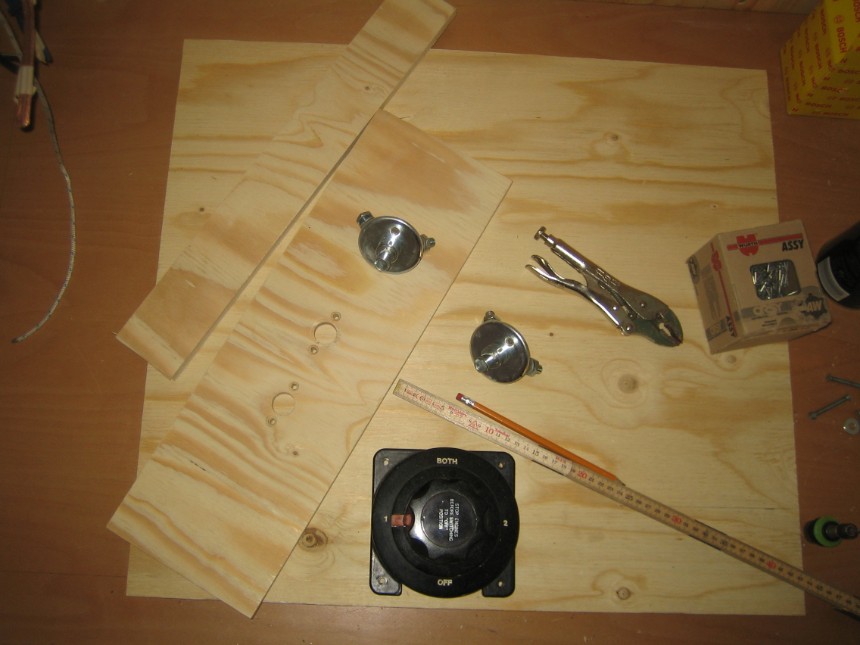
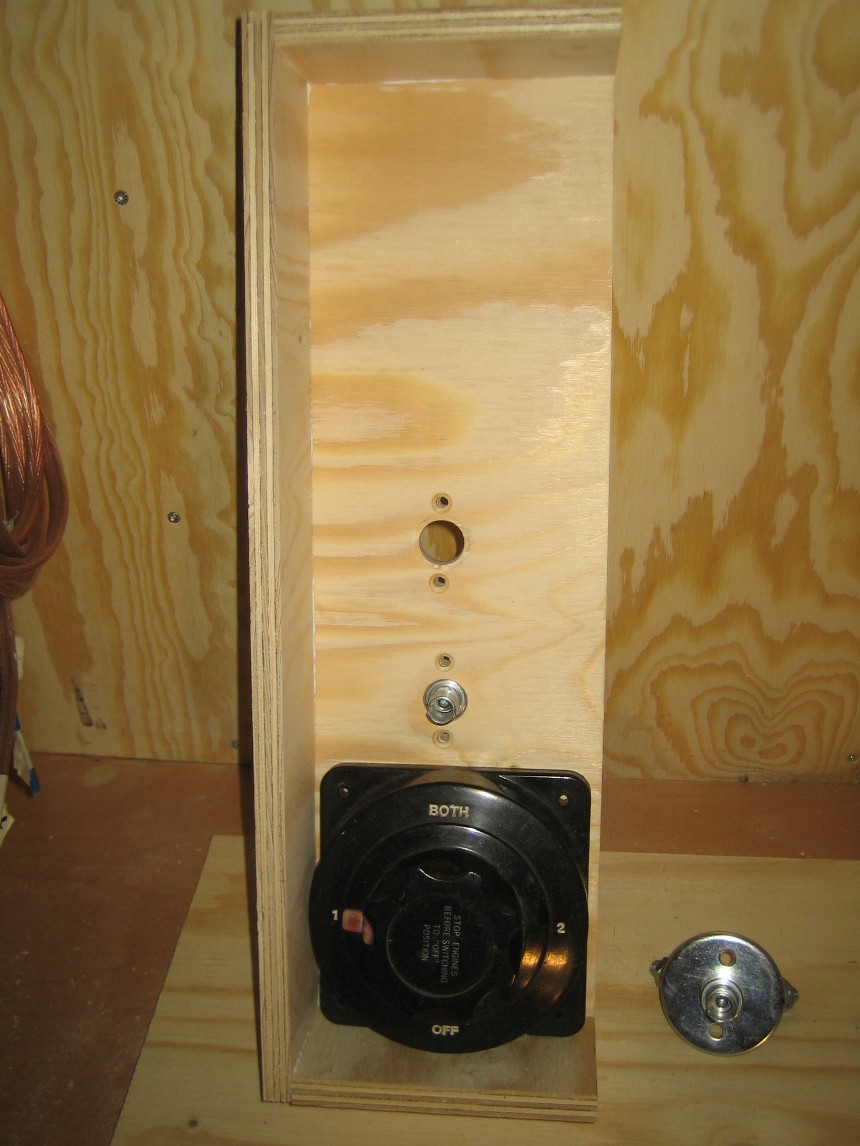
Preparing the control board for the Battery Isolation switches
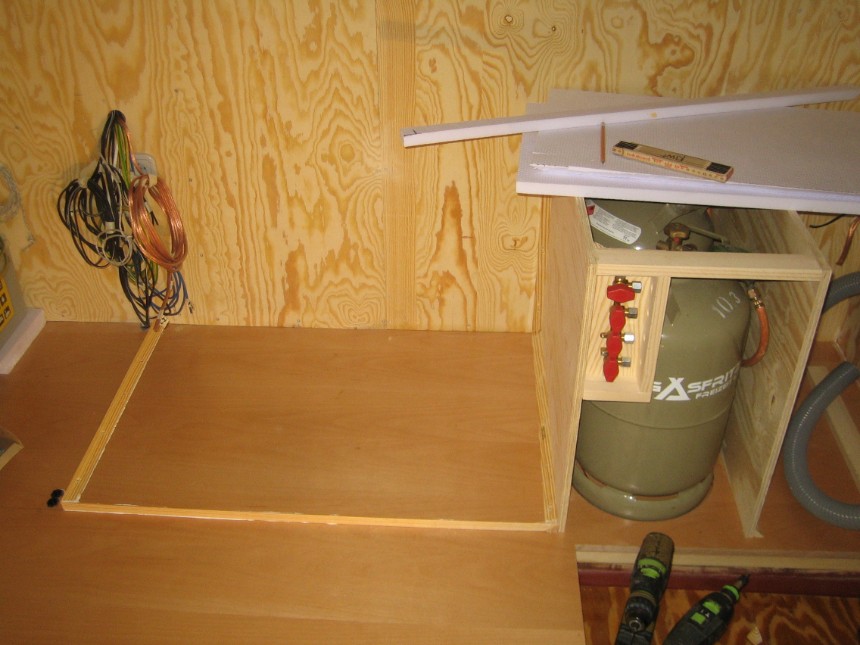
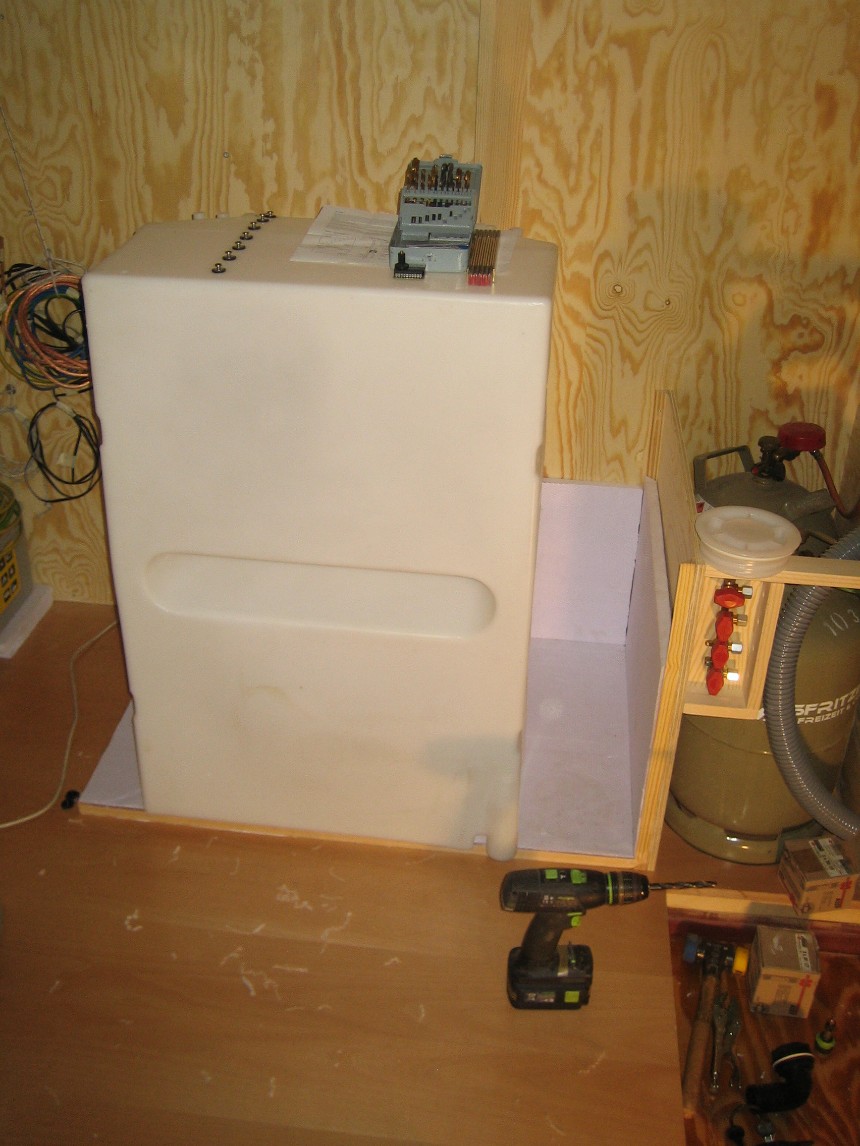
Framing ready for the placement of the water tank, tank insulation and the final partition wall
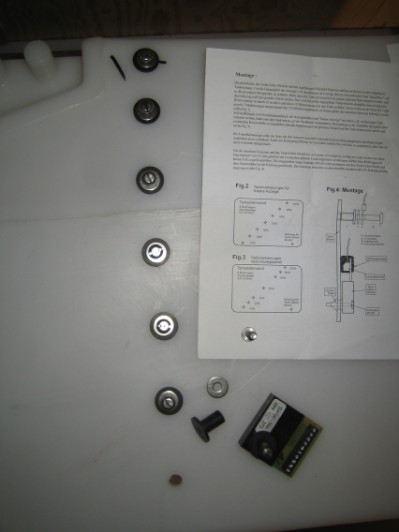
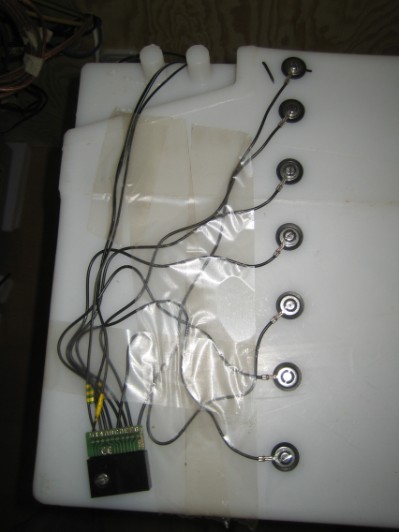
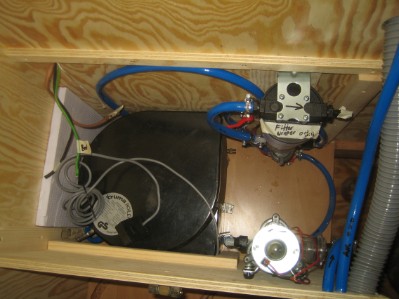
Mounting the water level senders into the water tank


Fixing the tank holding straps and cutting grooves in the insulation
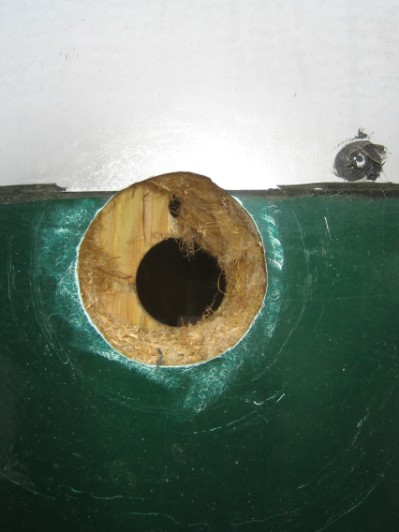
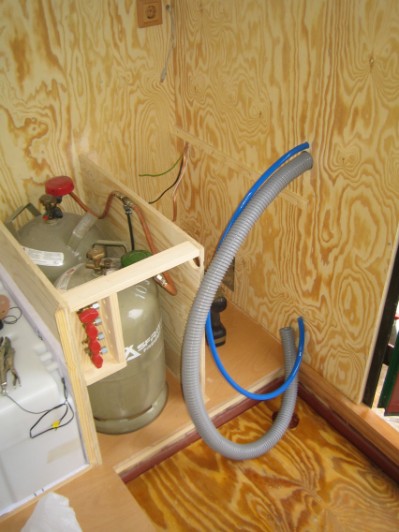
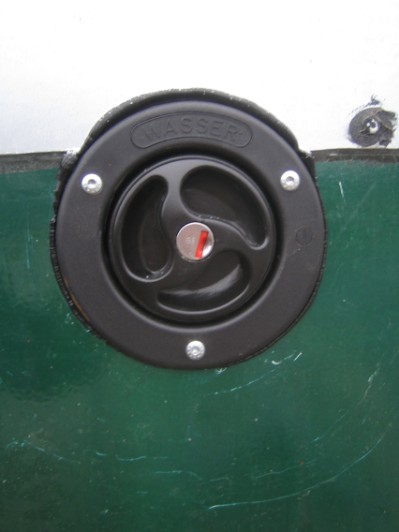
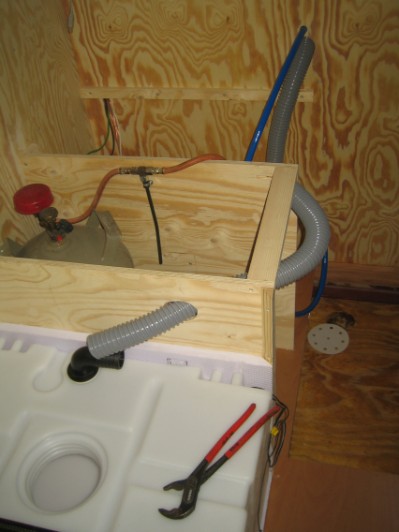
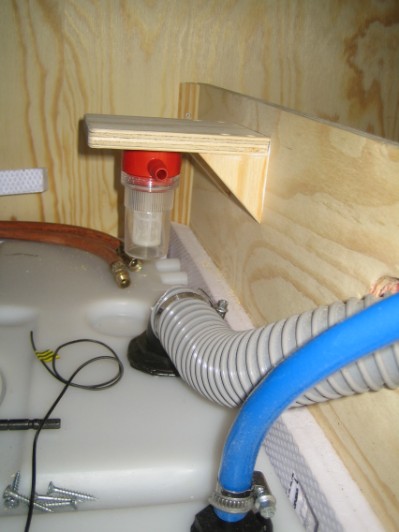
Cutting hole for the water filling cap and mounting the filling hose to the water tank
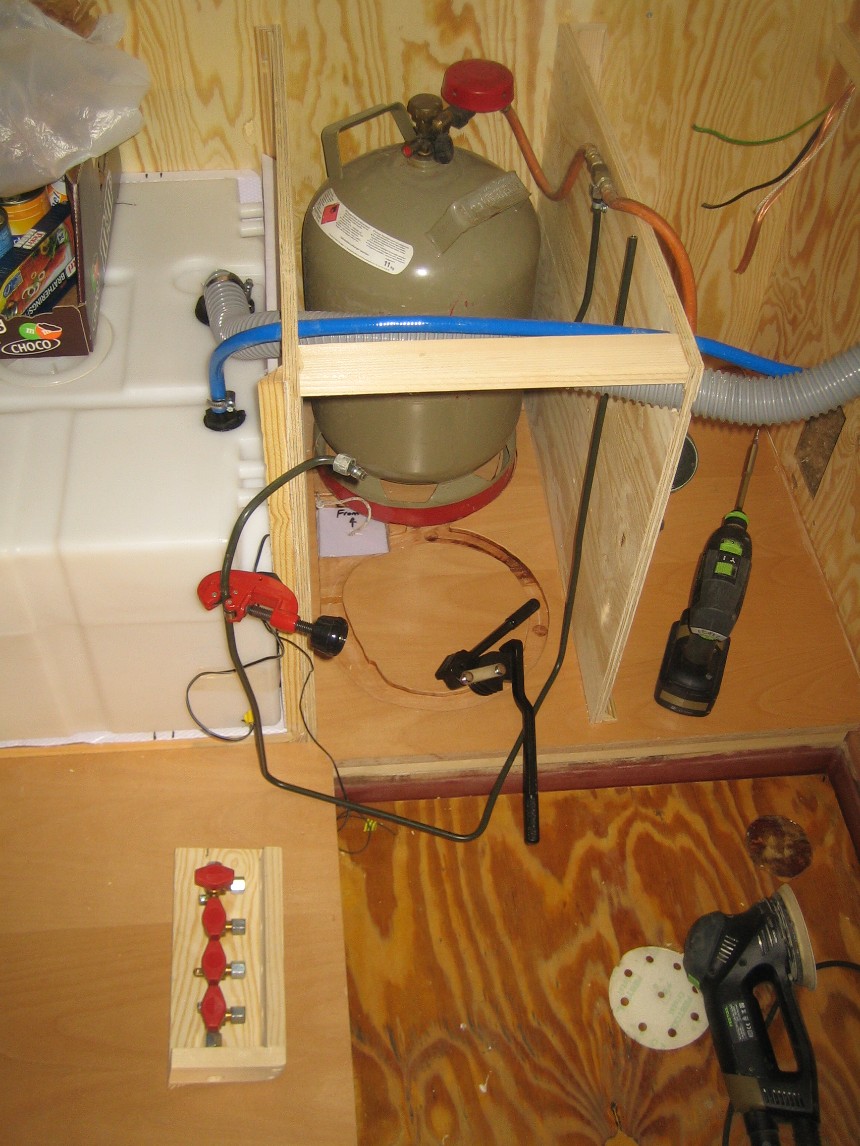
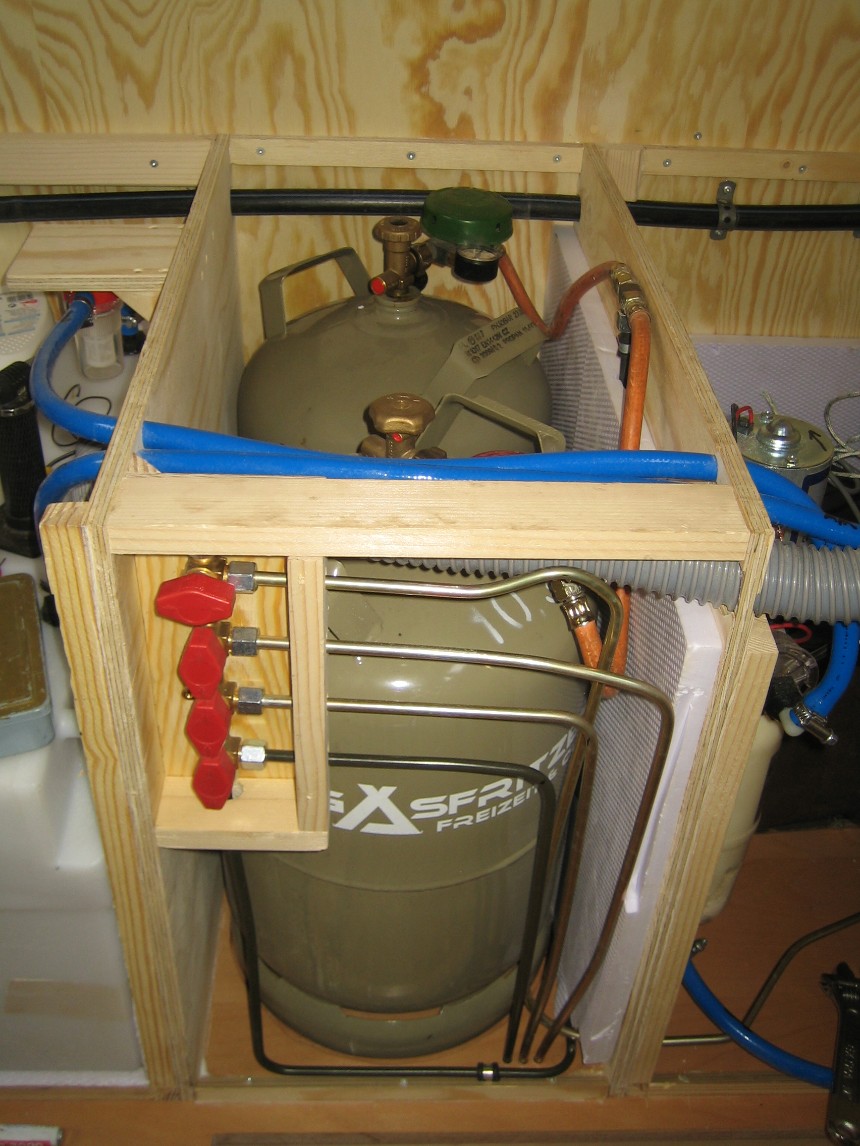
Water tank connected and the gas bottles connected to the distribution taps.
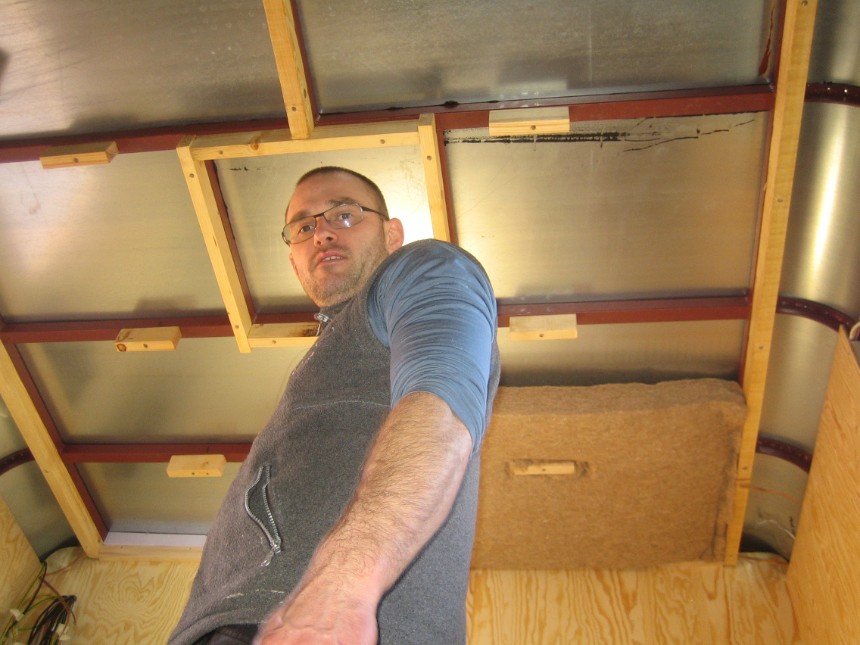
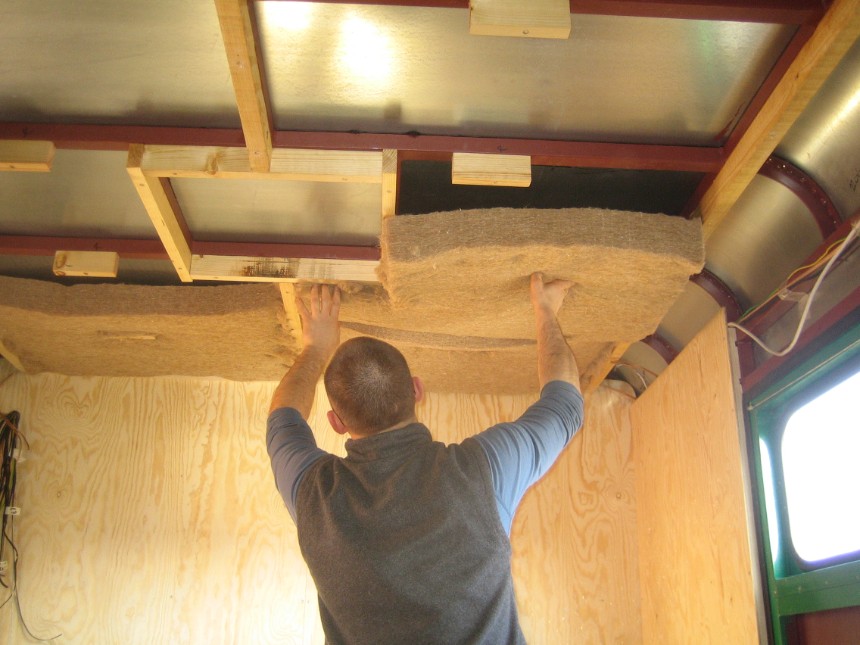
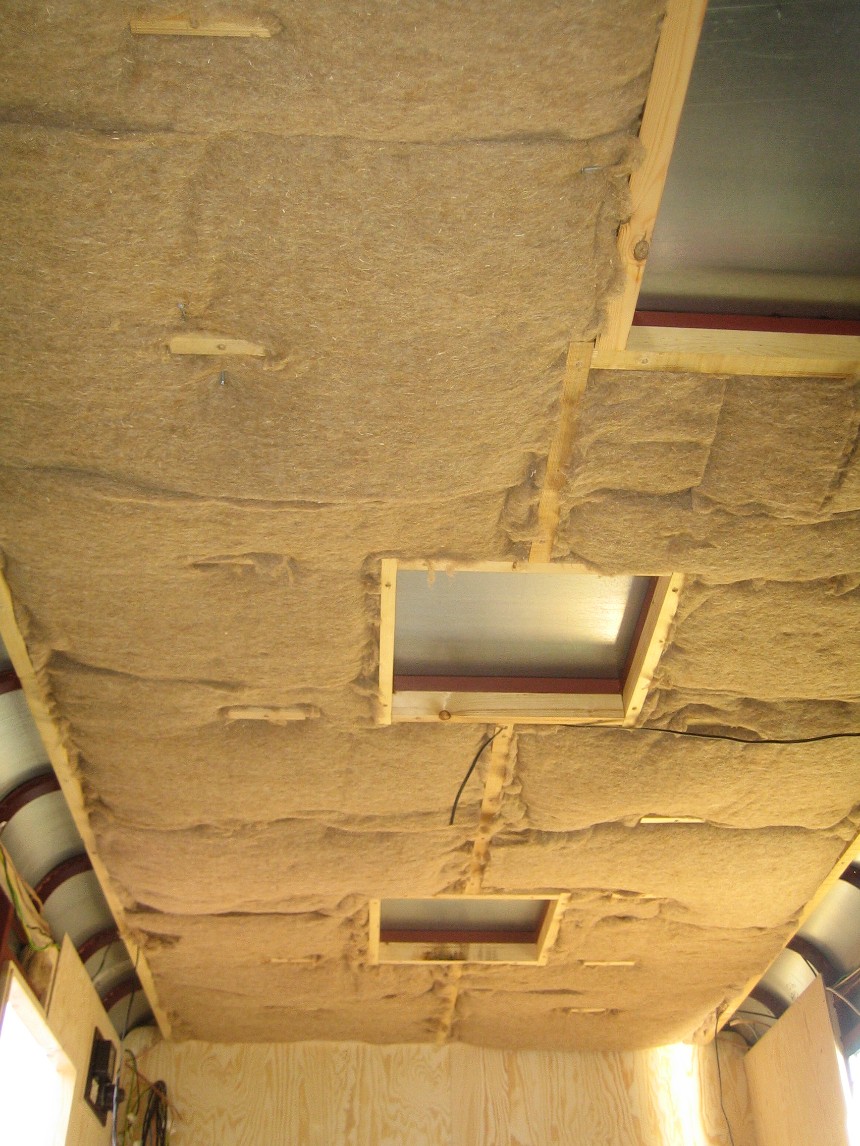
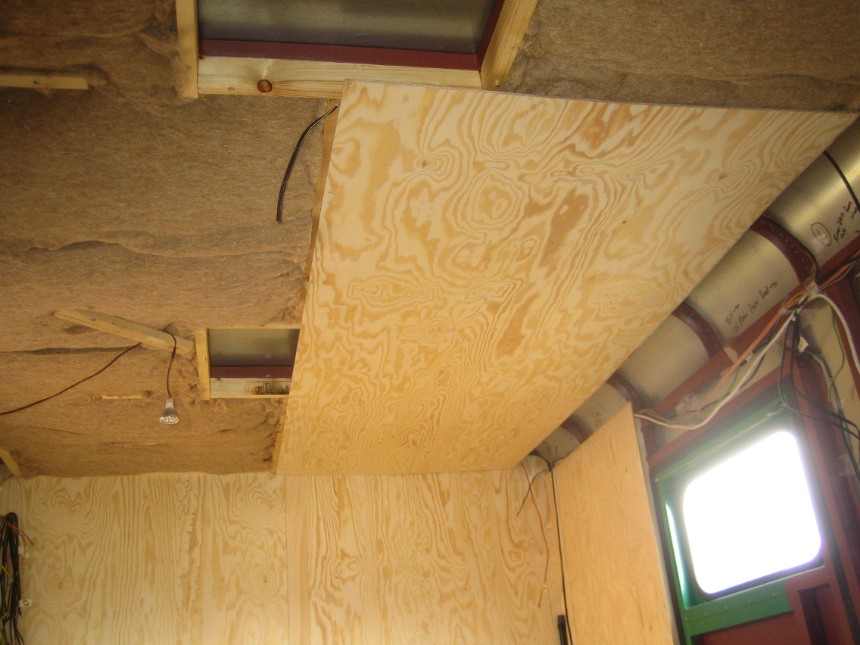
Now the hemp is all in the ceiling and waiting to be covered
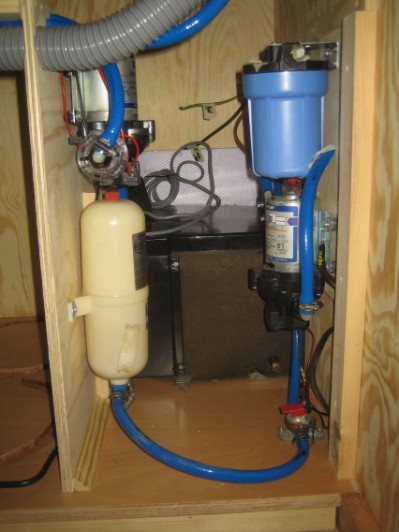
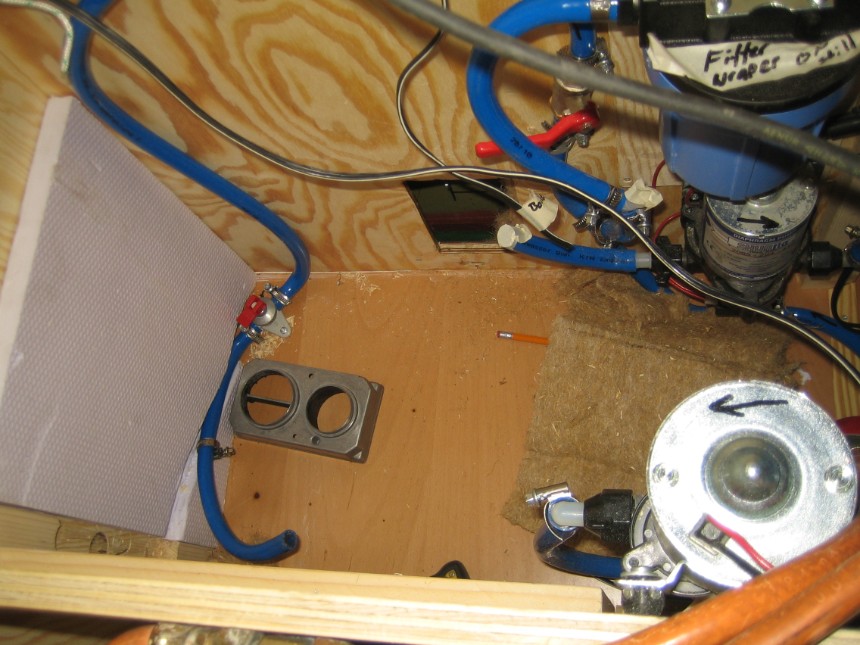
The
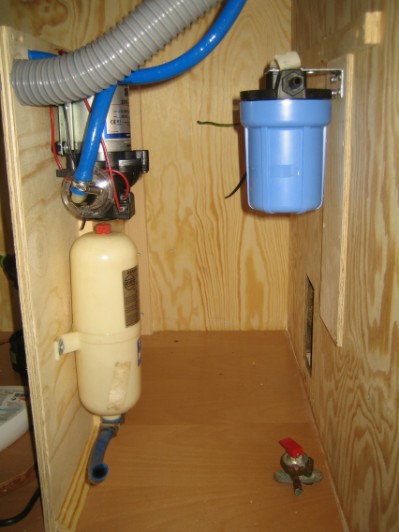
water partition with two pumps. One for the house supply and the other
for pumping water from a canister direct into the tank, if I need to
carry water in.
Water boiler in the back. This was removed in 2016 as I put in a Gas Water Heater
Also, the main water pump got moved up out of this box as it froze up during winter.
The water filter was removed and later built in another one just for drinking water.
And the white water Accumulator on the left of the foto was removed as it never worked properly, and the water system functions well without it.
I ran all my water pipes high, with drains on the low sides. So if I leave the truck in winter, by opening 2 drain taps, I can empty all the water out so it doesn't freeze. Learnt from experience!
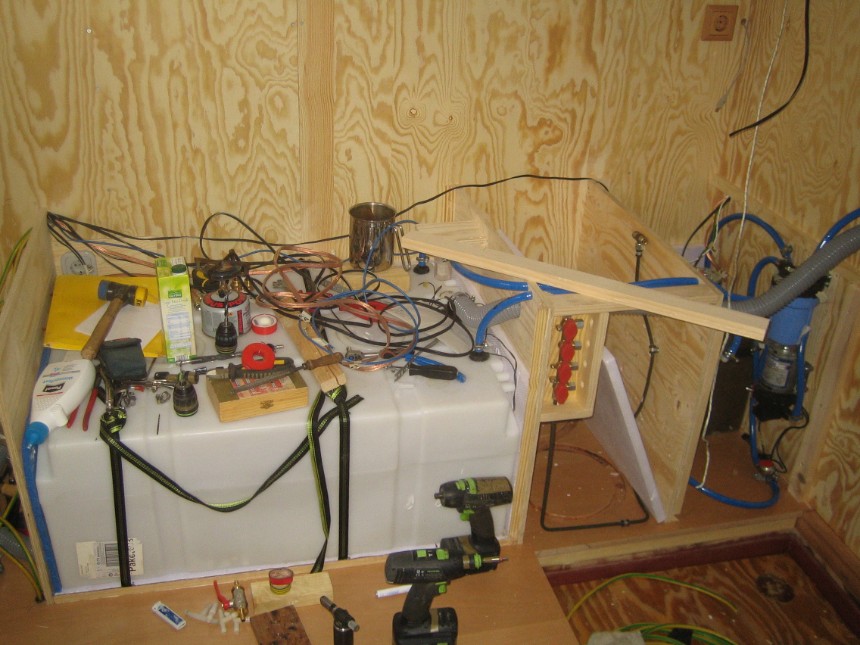
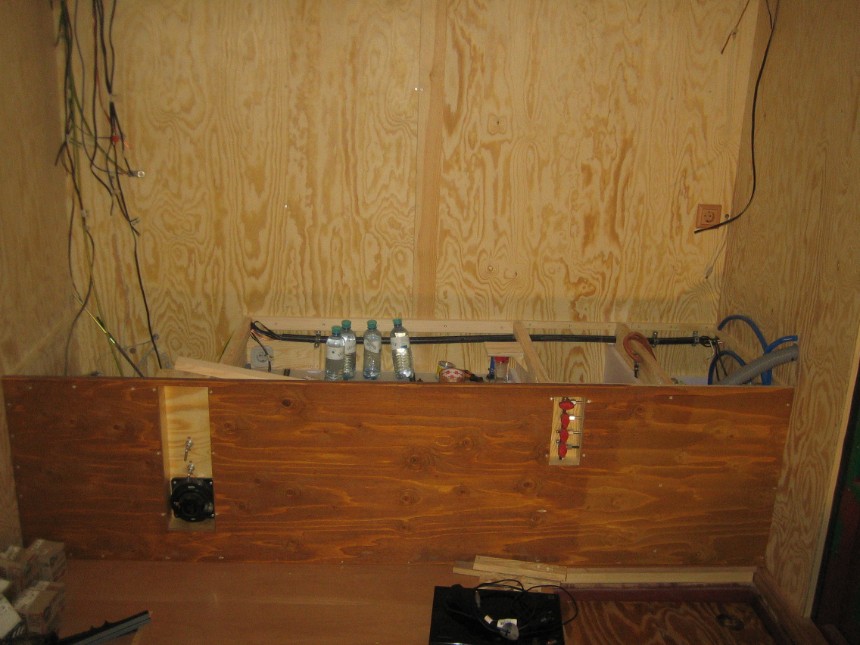
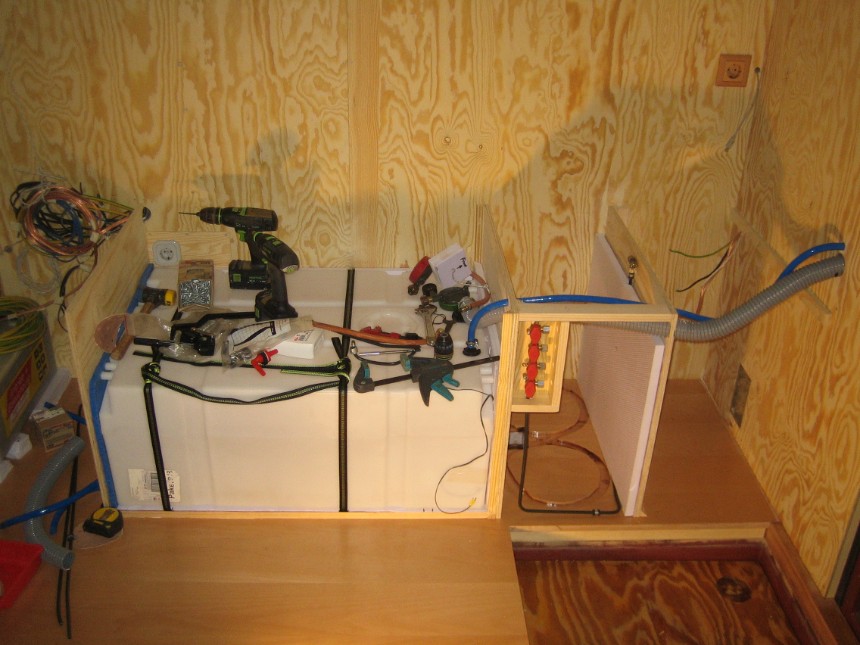
Chaos of wiring and tools as I put together the gas, electric and water systems
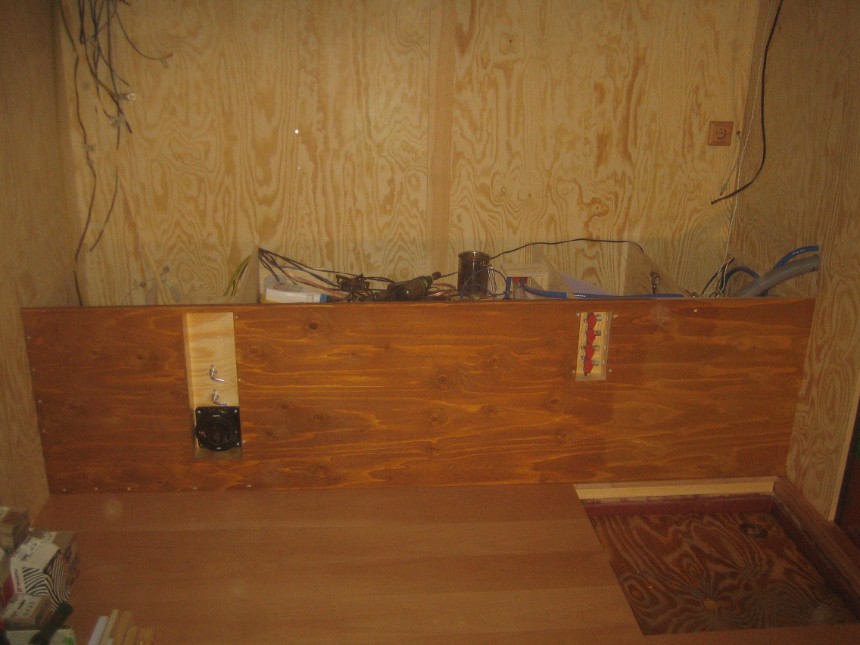
Finally the front board is on and the area is almost closed off, once I put the top boards in
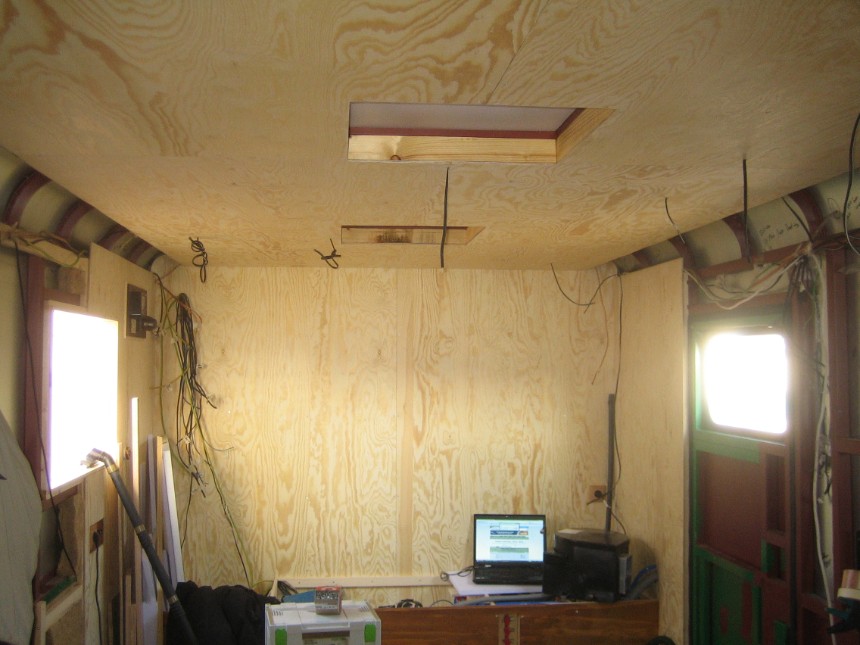
The ceiling is in
Now the gas distribution system is all finished and the water boiler connected
Cutting a hole in the outer steel to fit the water boiler chimney through

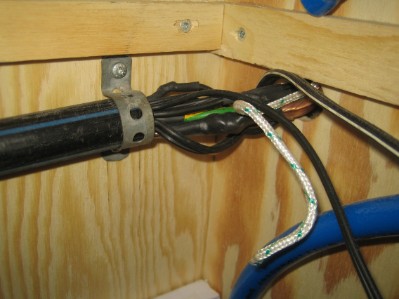
The
wire chaos is slowly receding with the completion of all the cables
above the water tank being put through a pipe. I soldered the cables
together and covered the joins with shrinky tape